


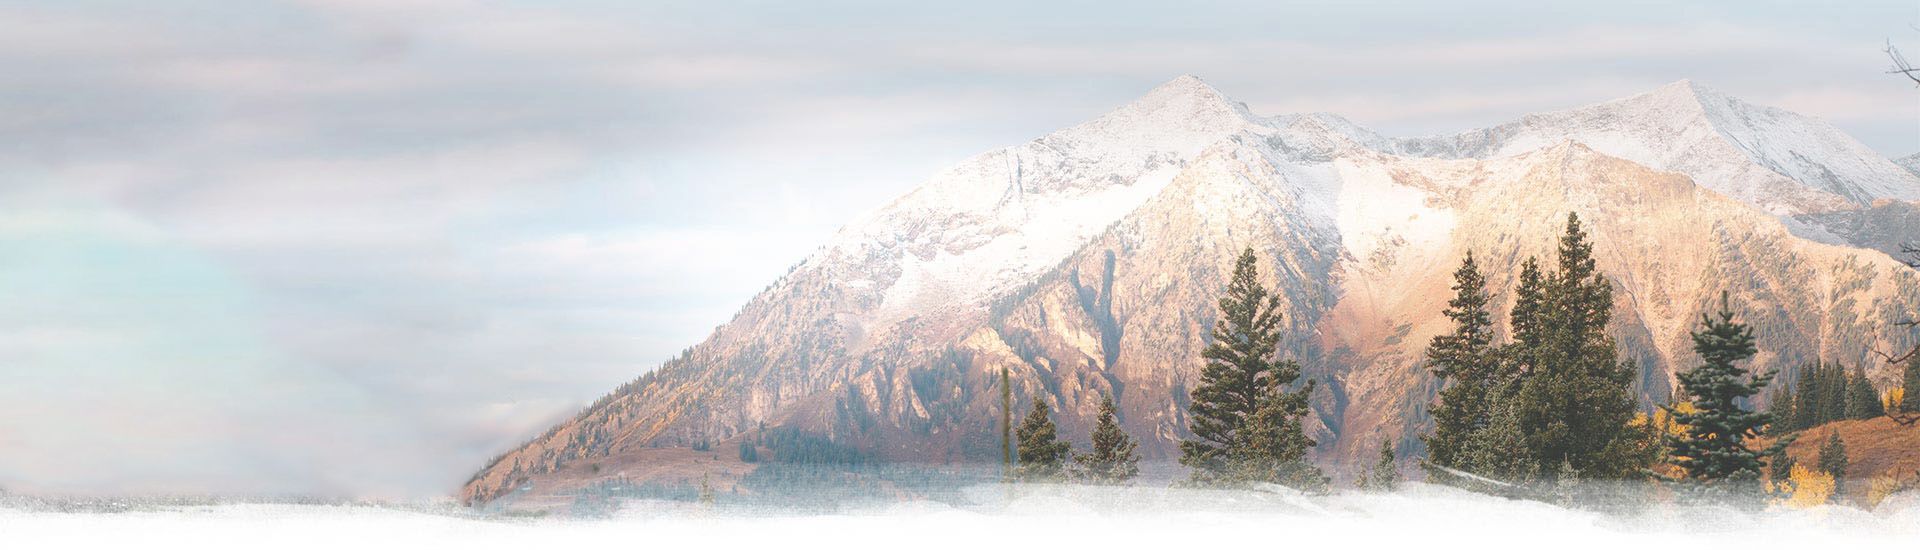
10 Jul Italian Dolomites: Via Ferrata Giovanni Lipella (4C)
Via ferrata Giovanni Lipella is one of the most emblematic routes in the Dolomites. Not only are the views breathtaking but also the ferrata is a bit more challenging due to its length, altitude and exposed areas. For sure a ‘must do’ in the Dolomites and something to remember.
Distance
12 Km
Total Time
8 h 45 min
Active Time
8 h 00 min
Vertical Relief
+1500 / -1500 m
Min/Max Altitude
2000 – 3100 m
Ferrata Grade
Difficult
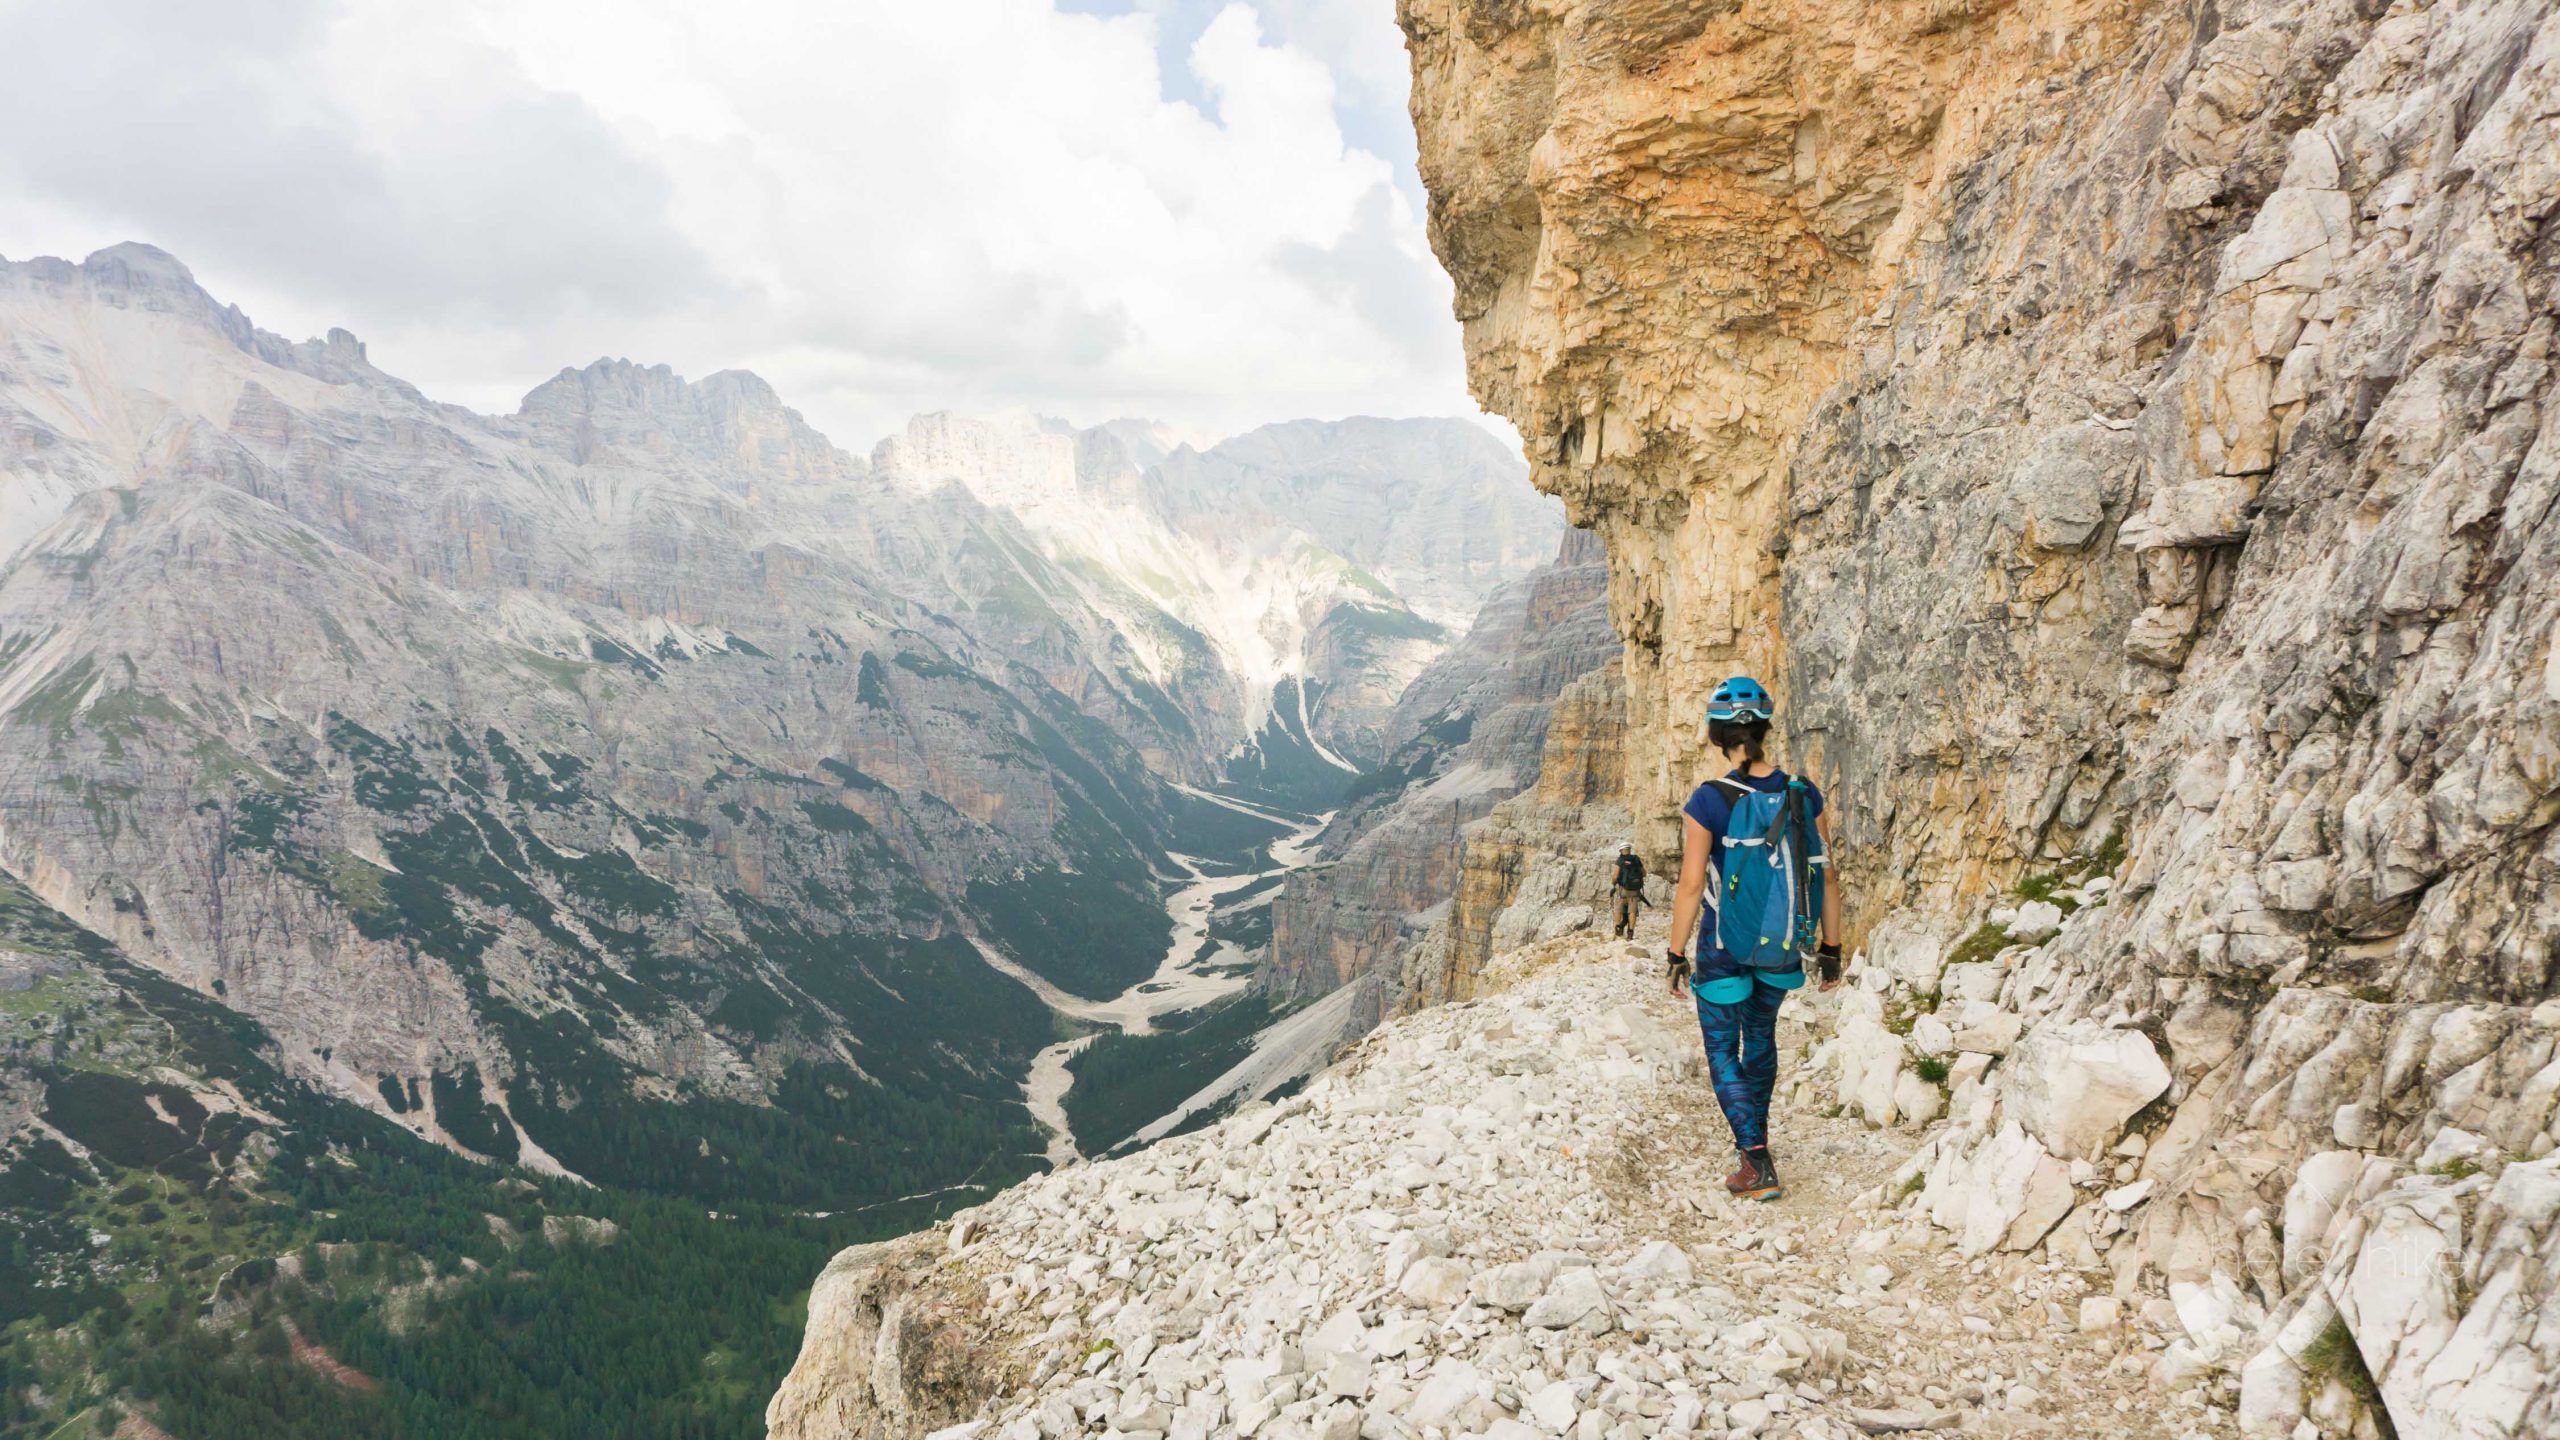
Via Ferrata Giovanni Lipella
No doubt, Lipella was the highlight of that summer holiday, for us. We wanted so much to do this route and we were both a bit nervous and eager to make it. This was because it’s a fairly notorious route and because we knew the area a bit and we imagined that the views up there must be at least fantastic. If one thing’s for sure it’s that we were not wrong about this.
We took a day off after the experience we had on the Ivano Dibona via ferrata. We needed to relax a bit and be in good shape for Giovanni Lipella. It was a total delight with pizza, easy walks and lots of sleep.
Up to that point we only did via ferrata 3B as difficulty. Lipella was a 4C so quite a jump if you ask me. We were thinking one night before if we should make the step or give it a bit of time. Finally, after also hearing the recommendations from a nice Italian couple we met in the camping area, we decided to go for it.

We started early because we knew it’s going to take some time to make it. We found a good parking spot about 1 km below Rifugio Ivano Dibona (not to be confused with Via Ferrata Ivano Dibona) and we left the car there. We followed the road and the markings up to the Chalet.
From Ivano Dibona we took the path 403 and next, at the intersection we continued on 442. The route is fairly known and the markings are good so nothing to worry about.
The approach is about one hour and it’s great for warming up. Note that generally it’s crowded, a lot of people go on Lipella so take this into consideration – it might add time extra.
The cable section starts very bold with a ladder and straight into a 300 m long tunnel that spirals around and pulls you out on the other side of the mountain. It’s completely dark, slippery but well equipped with cables. Nevertheless it’s vital to have a head torch.


There are about two openings in the tunnel through which we could have a brief look at what’s happening outside the darkness of the tunnel. As well when exiting the tunnel we ended up in a totally different landscape because we were on the other part of the mountain. Amazing! Right after the tunnel there’s the first emergency exit towards Col dei Bos.
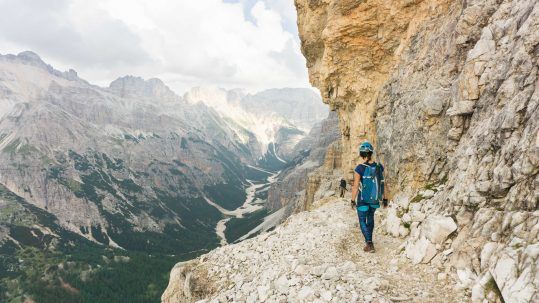
From here we continued following the combined alpine paths with cable equipped sections. You cannot get bored on this route. The mountains around you are so majestic and you can only feel yourself like a grain of sand in front of them. There is no doubt about the beauty of this route. I cannot say the same about the weather. There were some clouds when we started but it seems they’re getting more and more serious.
We kept climbing and soon enough we reached Tre Dita peak at 2694 m. So far we did not find the route as being too difficult. You spend quite a while on it but what’s nice is the fact that you always combine climbing with alpine paths so that you have a balanced effort and can relax. Right from Tre Dita there’s the second emergency exit that takes you straight to Rifugio Camillo Giussani. It’s recommended to take this exit either if the weather is very bad or if you faced difficulties on the route. The next section is by far the most challenging one due to exposure and technique needed.


Our energy level was quite good and we felt excellent to continue on the cable section. The downside was that the mountain was all wet and covered in clouds. This added some weight to the route’s already existing difficulty. In short the grips here are already smaller and more subtle and being wet it was closer to ice skating than climbing.
There are some really exposed areas and some overhanging ones where you kind of need to have steady legs, arm strength and a good head for heights. We felt a bit of adrenaline on this part. There are some sections where you have no place to rest so you need to move fast and have some stamina. The last 30 meters are indeed challenging but after that the ferrata ends and you can congratulate yourself for making it! We were a bit starting to get tired when we saw a group of three German speaking guys who were wasted and asking us if we knew how much longer the ferrata was going. Fortunately for them and for us, not much.
With all this, I can say the experience was amazing and we absolutely loved this ferrata. With the cables left behind we had two options: descend to Rifugio Camillo Giussani or head towards Tofana di Rozes peak at 3225m. The hailstone decided for us: down to the chalet. We were kind of close to the peak but there was the hail, the rain and the cloud – no visibility and no fun to continue. Maybe we can return another time for the peak.


The descent is as always…on scree. Not the best, not the worst, regular never ending scree. It took about one and a half hours to get to the chalet and by the time we got there we were greeted by the sunshine. Coffee and sunshine, I can live with that! And after our 4C ferrata, I say we earned our coffees! Ah, by the ways, Rifugio Camillo Giussani it’s simply adorable. After a good relaxation here we continued the descent (about 40 min) to Rifugio Ivano Dibona. The descent from here onwards is very comfortable and easy.
All in all, Via Ferrata Giovanni Lipella is absolutely stunning and you have all the reasons in the world to add it to your to do list. It’s a special place in the Dolomites and you feel it with every step you take – from the nice and easy ones to the ones you will always remember.


GPS track for Via Ferrata Giovanni Lipella
Our GPS track had some huge recording errors so we could not use it for this article. Instead we found pretty much the same route on another Wikiloc user and we embedded this one here just for you to have the correct info. As well this guy included in the recording the first cable car section which we did not calculate since it was…with the cable car.
How to get to Via Ferrata Giovanni Lipella?
From Cortina drive to West towards Passo Falzarego. There are some parking options at Rifugio Angelo Dibona or a bit below it.
Where to sleep?
When we made this route we set base camp in Cortina D’Ampezzo at Camping Rocchetta. The place is one of our favorites in the Dolomites. Nice, quiet, super clean, great pitches and all the facilities you need. There’s even a small café and shop in the camping, a restaurant across the street and everything is super cozy. The accommodation price may differ based on the period of the year – but generally you can calculate it between 30-35 eur/night for the persons, one small car and one small tent. We really love this camp site.

Good to know
- Never plan to go on the Lipella ferrata in bad weather. The ferrata is long, sometimes challenging and highly exposed. Always take into consideration the risks.
- Since it is a very crowded ferrata, always keep a safe distance from other climbers and pay attention to rock falls.
- A head torch is mandatory – there is no artificial light in the tunnel and it can be dangerous to walk blindly.
A few words about the Smith / Fletcher Rating System
As for climbing, in Via Ferrata there are specific difficulty rating systems for the routes that you must understand in order to pick the best route for your level of experience. There isn’t an universal rating system but rather a few of them each having its own specifics.
For the Dolomites we found a guide that uses the Smith / Fletcher rating system. This is composed of two parts: one number (from 1 to 6) and one letter (from A to D). The difficulty of the route is dictated by the number in front (1 for easy – 6 for extremely difficult). The letters A to C stand for the overall alpine commitment (possibility to escape the route, how remote is it, etc.). The letter D is kind of an extra and tells you that the route includes glacier crossing (so this means you need ice crampons, ice axe and rope).
As an example: a 2B route is among the best options when you would like to start discovering the via ferrata rock-climbing. I never really heard of ferratas that start with 1 – probably too easy to even bother about them but generally the ones starting with 2 are a good place for you to get familiar. You would need a bit of mountaineering experience, for sure, but overall there are no overhanging parts, the grips are generous and the security equipment is very good.
A 4C route can be long, can require some strength, you might pass some exposed areas and little to no escape routes. Make sure you are well prepared, you understand both the risks and your experience level before you go on a route. Try to read as much info as possible about it and don’t venture on bad weather.
A few words about the equipment you need for via ferratas
No matter the difficulty (except maybe for the 1A, 1B and 1C) you’ll need a few mandatory things: helmet, climbing harness, via ferrata lanyard and gloves. This is the minimum.
What I would as well suggest is to have some rope for the difficult ones, a quickdraw or a lanyard (to anchor yourself if you’re in difficulty / need a rest), suitable shoes (good grip, durable and ankle support) and also come prepared in case bad weather surprises you (warm clothes, waterproof jacket, survival foil, first – aid kit, water, food). As well make sure to pack a head torch – some routes include tunnels so unless you work on echolocation – it’s better have a head torch with you.
There’s also things you should know about the climbing technique so make sure to learn as much as possible about it. If you’re new to this, have a look at this video, it shares great info about it.


Hope you found the information helpful and accurate, but remember, if you have any questions drop them in a comment below!
Other great adventures
-
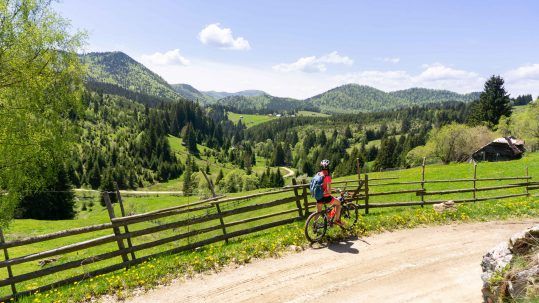
Transylvania MTB Ride: Sirnea
If you’re planning to visit Transylvania, particularly Brasov area and you’re also looking forward t...
-
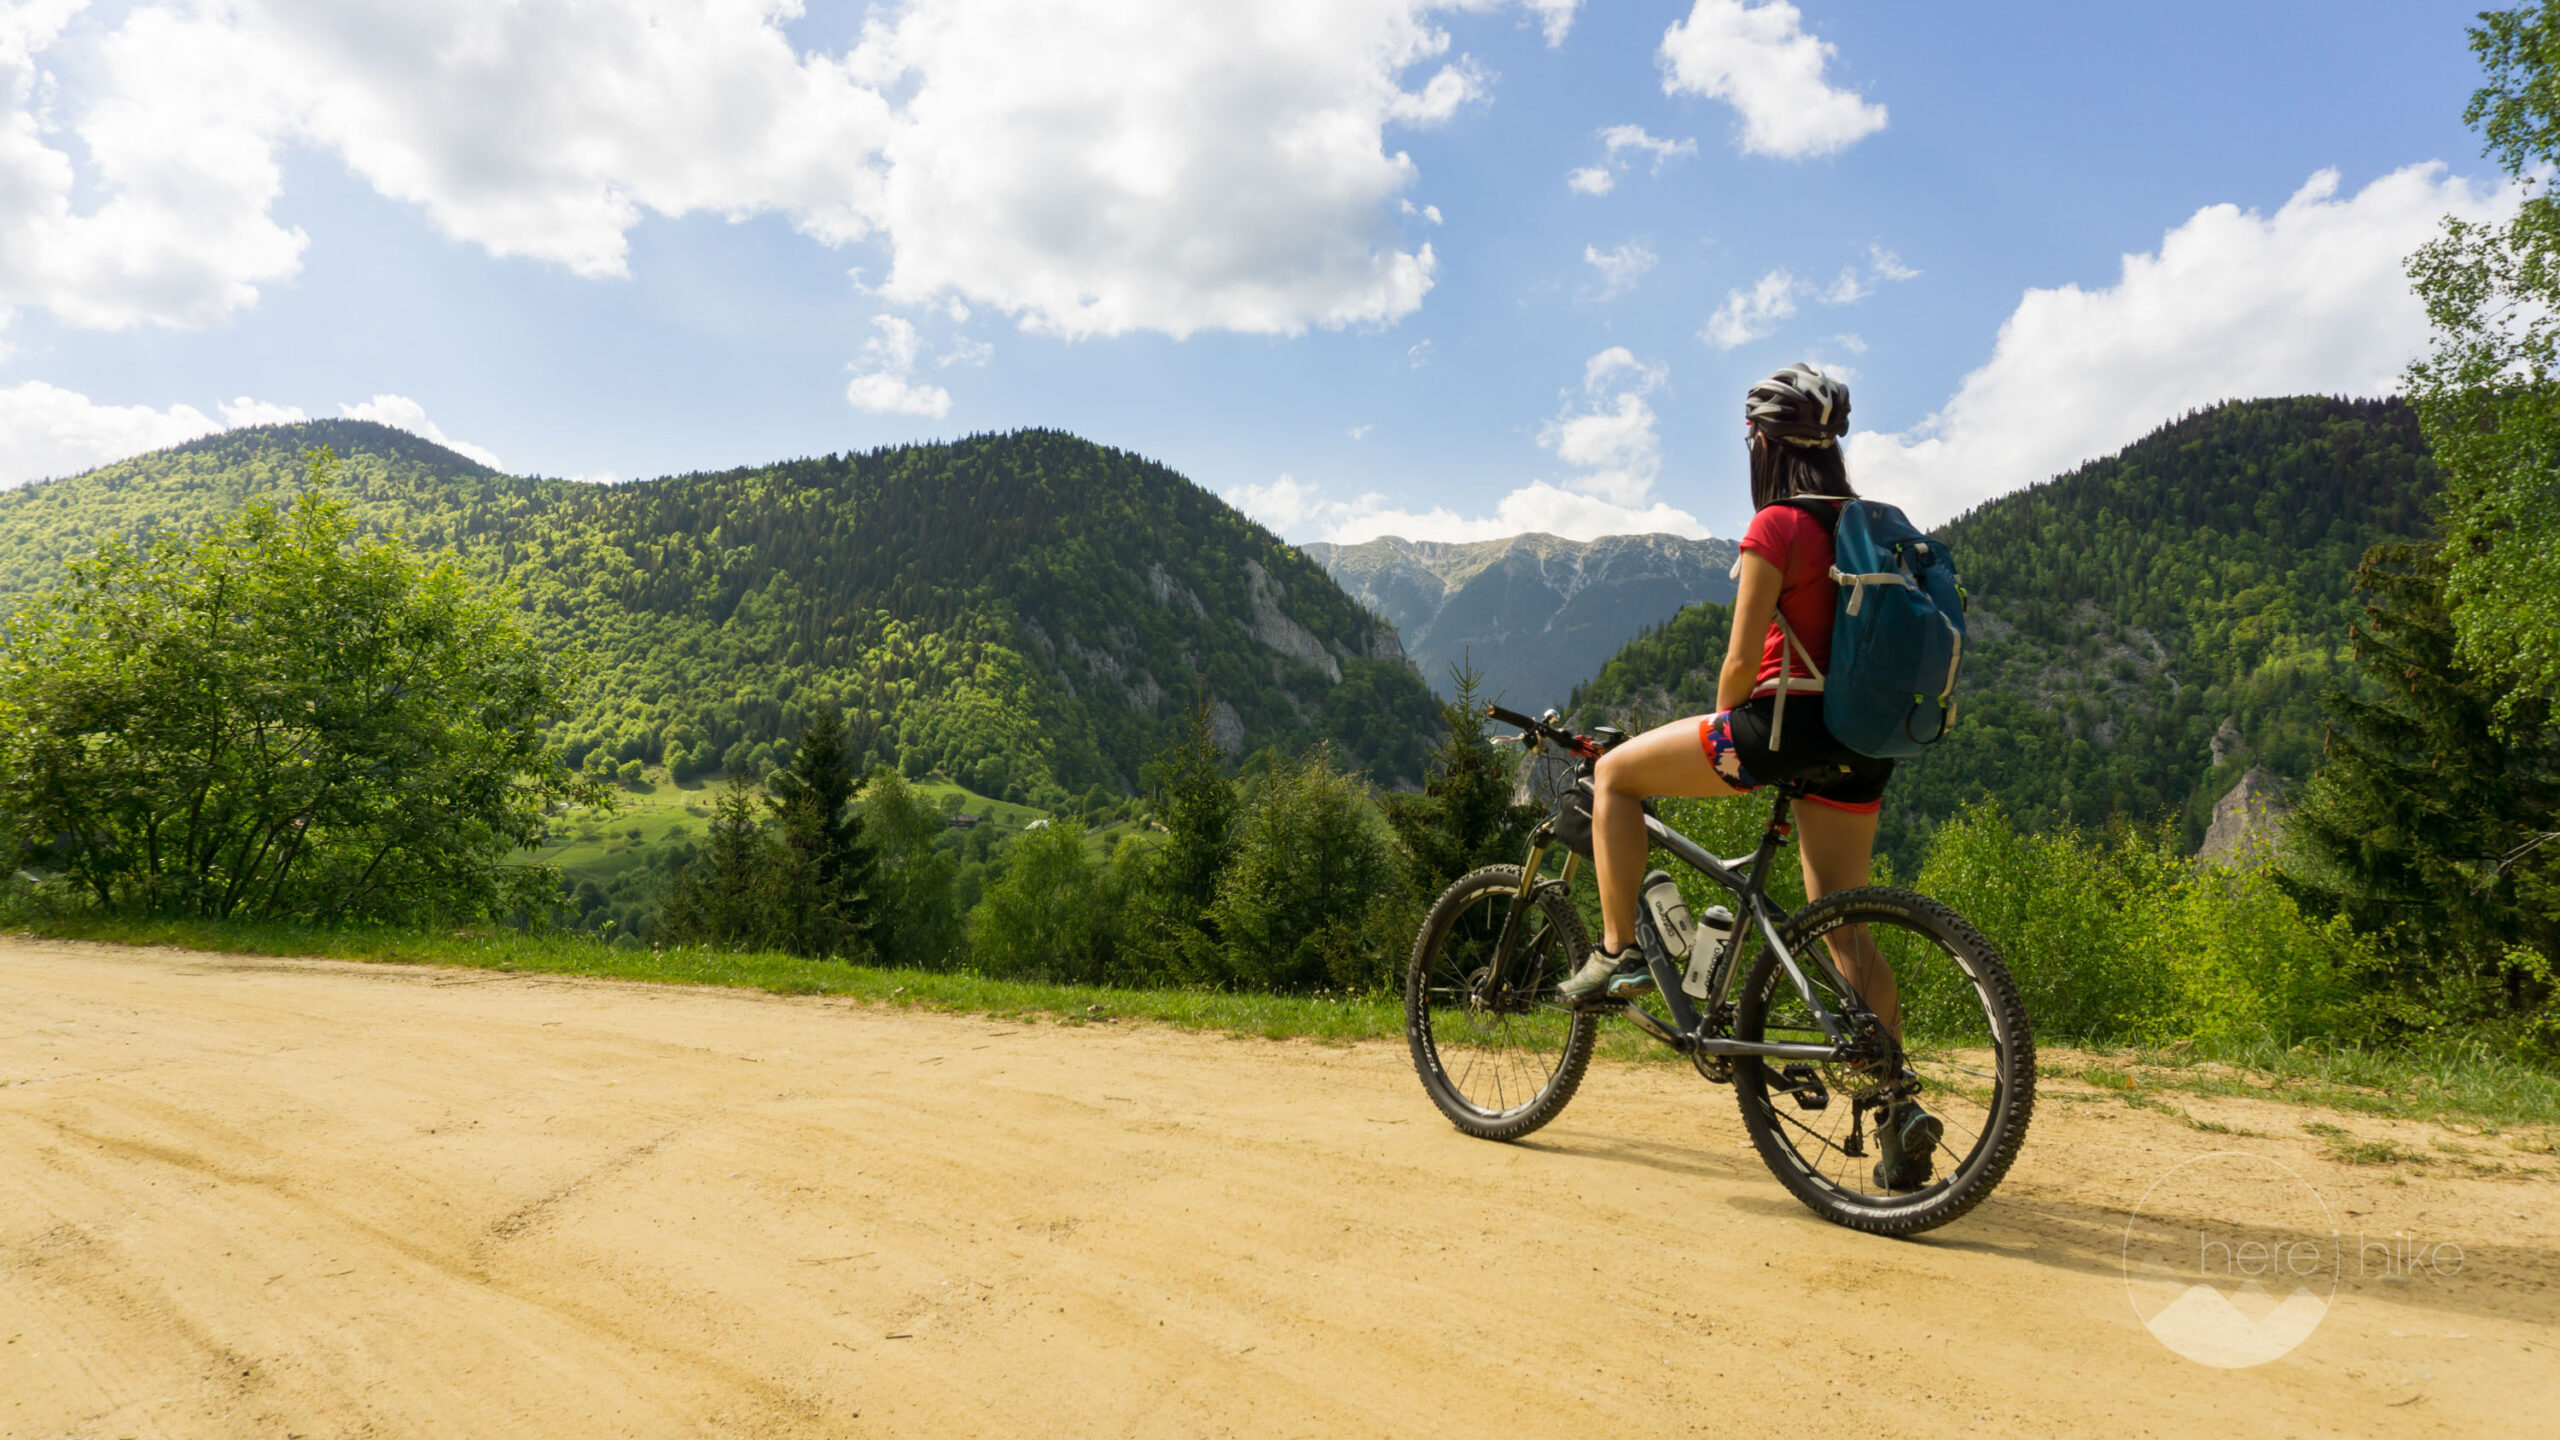
Cycling around Dracula’s Castle – Piatra Craiului National Park
Dracula's Castle, an international landmark, is probably one of the most visited places in Romania ...
-
Italian Dolomites: Via Ferrata Giovanni Lipella (4C)
Via ferrata Giovanni Lipella is one of the most emblematic routes in the Dolomites. Not only are the...
Sorry, the comment form is closed at this time.