


24 May Italian Dolomites: Via Ferrata Ivano Dibona (2B)
Via Ferrata Ivano Dibona is a scenic destination in the Italian Dolomites. It’s quite enough to see a few pictures of it and to immediately want to try it. One thing’s fair: do not expect an easy day on Dibona – beauty comes at a price! The ferrata is easy but everything else…well, a challenge for sure! Check out below how to get there and what to expect.
Distance
9 Km
Total Time
8 h 00 min
Active Time
7 h 00 min
Vertical Relief
+1000 / -1000 m
Min/Max Altitude
1700 – 3000 m
Ferrata Grade
Easy
Via Ferrata Ivano Dibona
Read carefully, learn from our experience and be more prepared than we were. It might be hard to resist its temptation as Ivano Dibona via ferrata is for sure charming all the way. Our aim is not to discourage you but rather to make sure you are well informed.
We heard about this ferrata even from our first visit to the Dolomites but we kind of pushed it aside precisely because of the awful scree part. But this time we decided to go for it.
We started from Cortina D’Ampezzo and drove to the starting point, Restaurant Rio Gere. We left the car here, in the huge parking area and took the chair lift up to 2235 m to Rifugio San Forca. This way we avoided (for 16 euro/person) an extra one hour at least of hiking. We’re blessed with an excellent sunny day and clear skies.

Normally, in the old times there used to be another cable car from San Forca to Forcella Staunnies. But due to the fact that the installation was very it is now out of service. As such there are 700 vertical meters of pure scree. We wanted to go light so we did not pack the trekking poles with us. Big mistake. Big, big mistake. It took us more than two hours to get to 2900 m to Forcella Staunnies. And at the price of exhaustion. The only advantage that we had – due to it’s location, the area is well in shade during the morning. I imagined that going up on a sunny scree slope is something similar to hell.


Finally reaching the top of this made us happy. The view is breath-taking and even if it’s for a short period of time, makes you forget how hard it was to get there. We stopped, we ate and we put on the ferrata equipment. Soon enough we’ll start the climbing section.
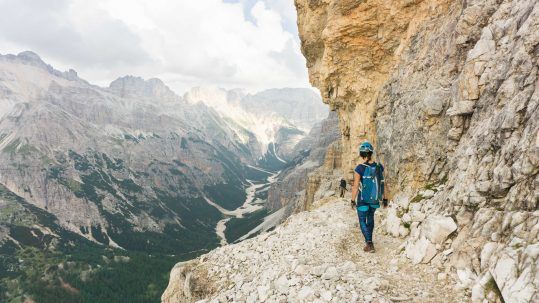
Little did we know that we will mostly descend on the ferrata traversing the entire mountain ridge. The panoramic views are by all means fantastic and while we’re on the cable section we’re in a constant excitement.


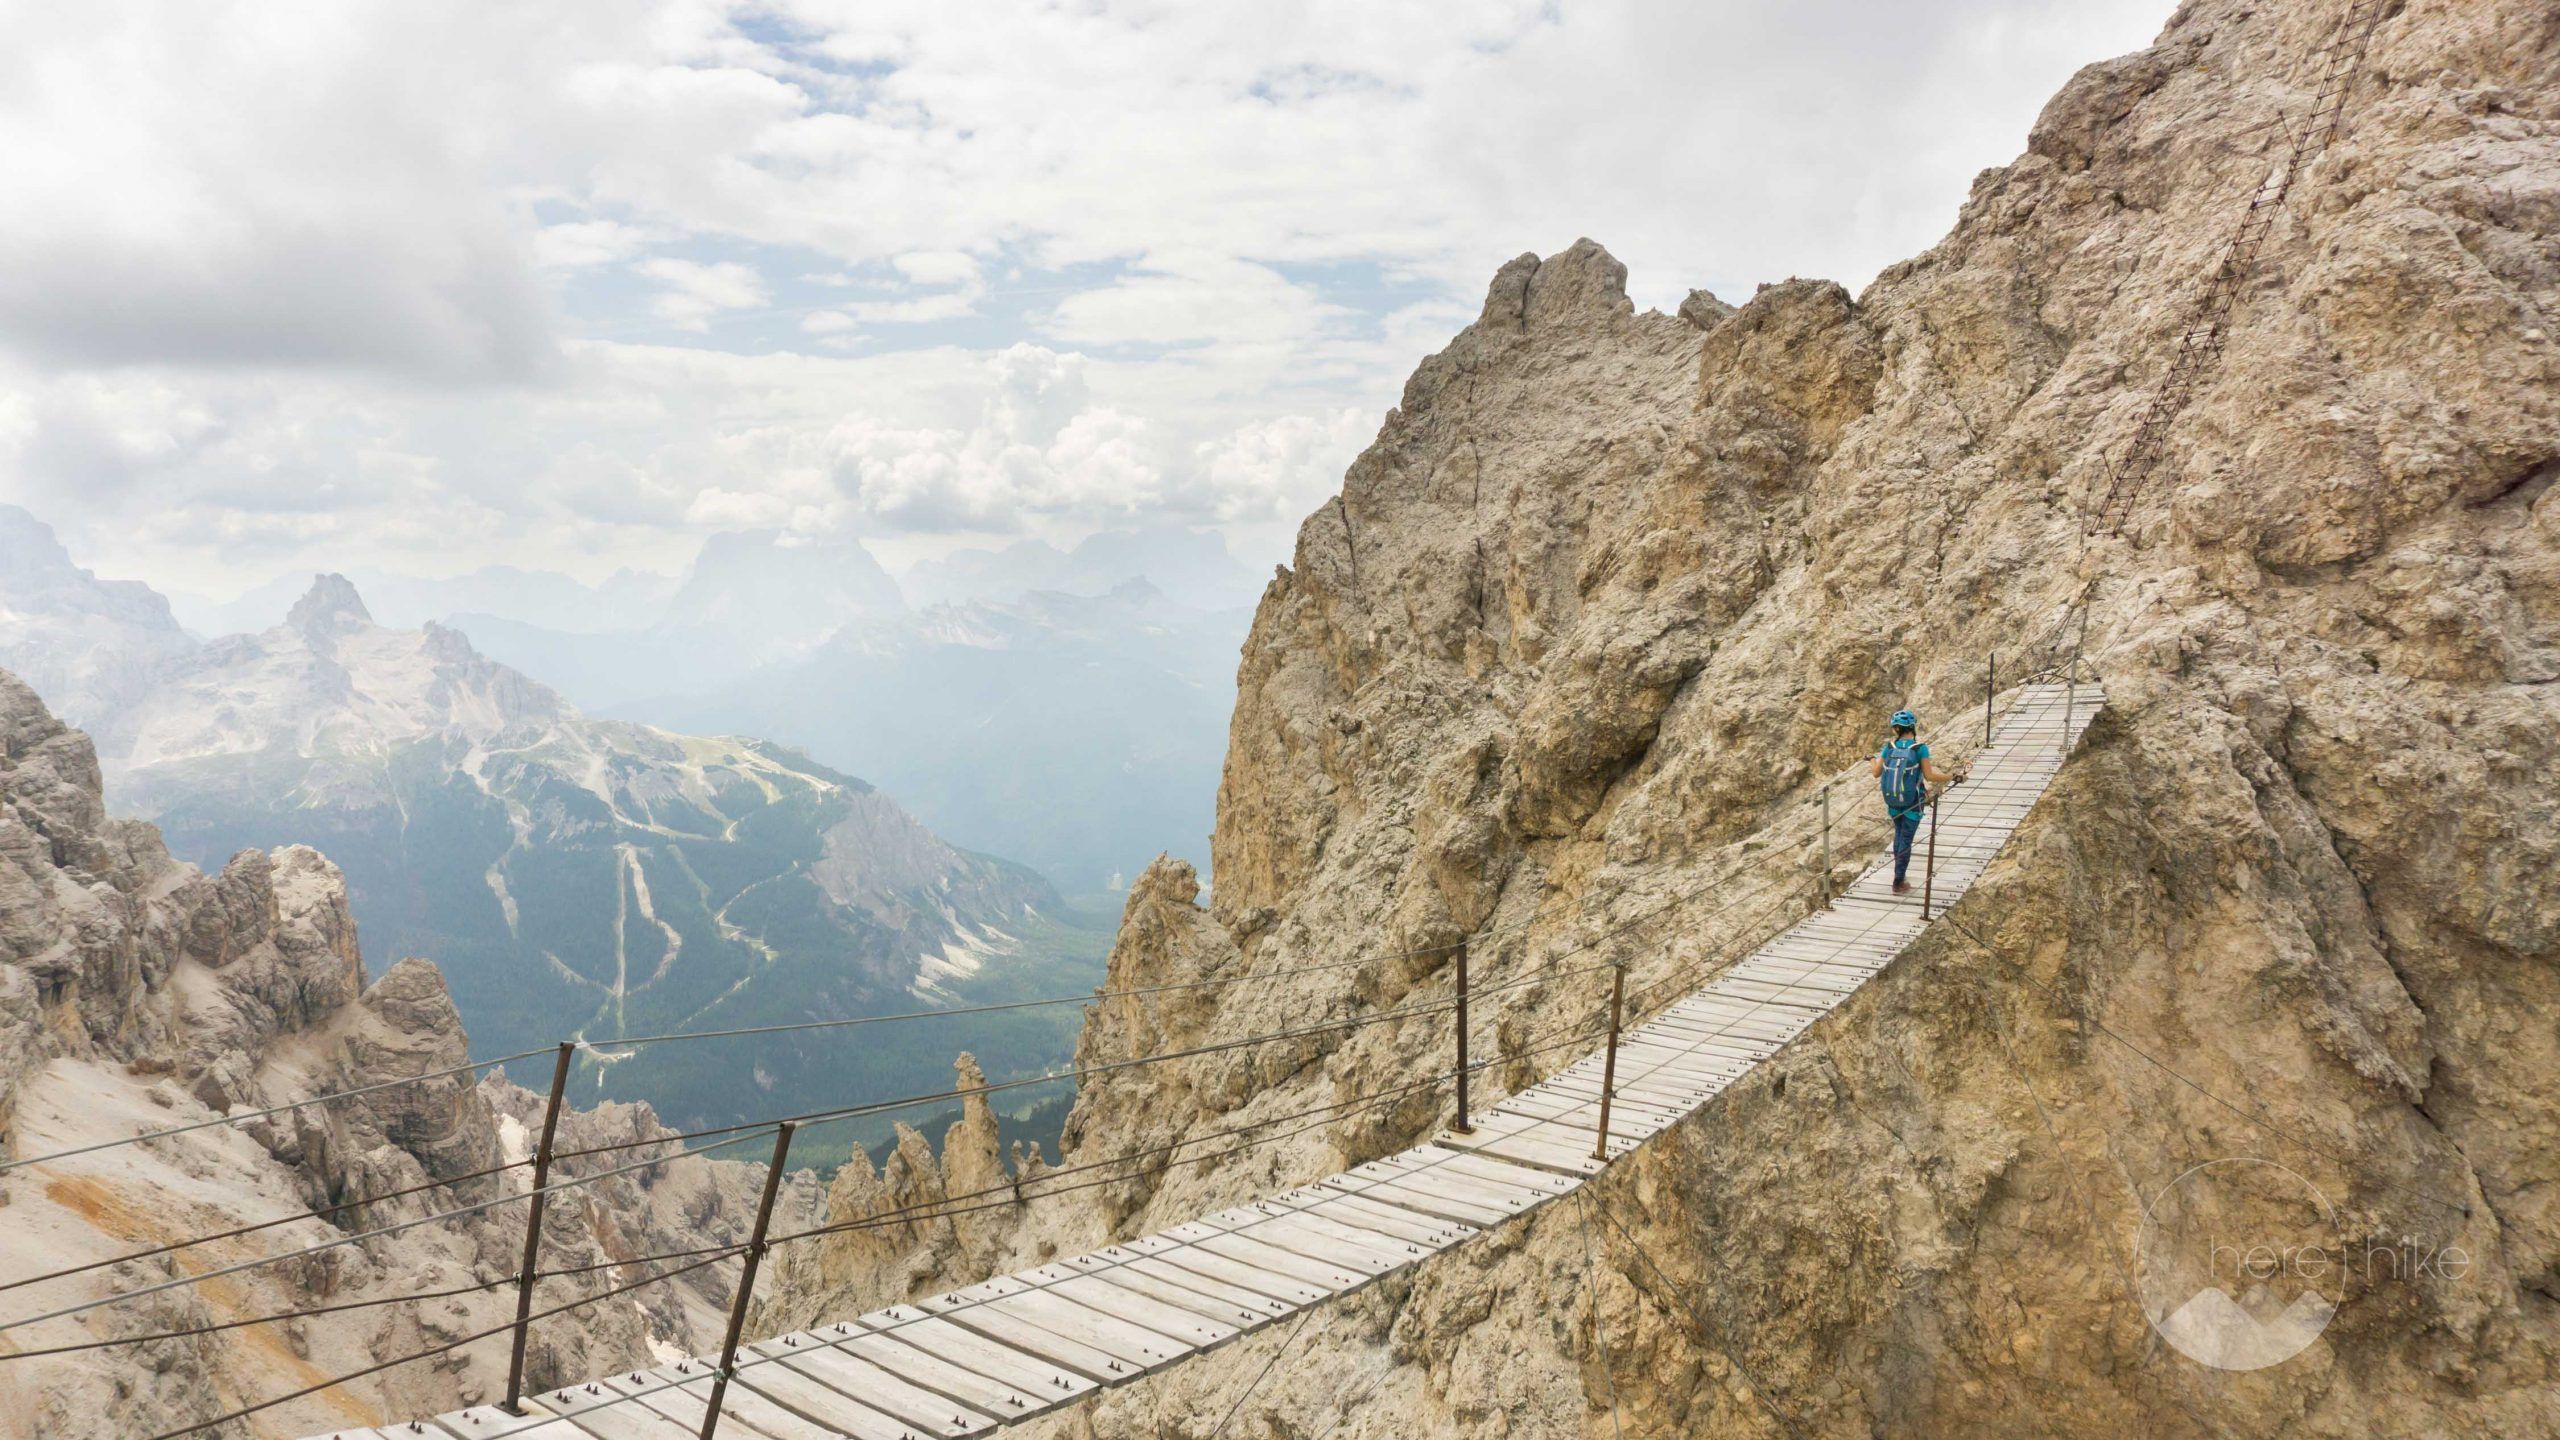
From the Forcella Staunies we headed left (to your right will remain the closed Rifugio Lorenzi). Short after the ferrata start we reached the most scenic spot of the route – the biggest suspended bridge in the Dolomites (over 20 m long). This spot is amazing and we craved for it so much.

The cable section itself is really not demanding even if we did it mainly on a descent. For sure, it’s always more advisable to climb up than descend on ferratas but this one is manageable both ways. We reached Cresta Bianca (2932 m), Cima Padeon (2859 m) , Vecio del Forame (2863 m). The mountains around are magnificent and we seem not to be able to get enough of the landscape. It’s an amazing feeling that makes every bit of you vibrate.


Along the route we encounter old fortifications used during the First World War. I find it hard to imagine the pain the people endured here to protect the Tirol from the…Italians.
Then the second fun part begins. Slowly the ferrata becomes more disrupted and the cable sections are combined with highly unstable land and not equipped areas. This follows as soon as we leave the ridge and we start descending. This adds up to the fact that we’re already tired from the scree ascent. As well, towards the end of it we reached a small valley where the land was swept by a flood, the path was buried in big rocks, trees and dirt. We had to cross this section of sliding terrain and reach back to the normal path. Finally in all this madness we realized that it’s already too late and we missed the last chair lift to go down. Shit!!! I was so exhausted that I wasn’t sure I would be able to make it a few more kilometers to reach the car.


Nevertheless, we were lucky enough to find a nice guy from the Refugio San Forca to take us down with its off road car. It was a blessing. Sorry for his dog that had to run next to the car because we took his place in it. Great dog – not very people oriented – but nevertheless lovely.
When we reached the camp site, I believe I had one of the most appreciated and craved bottles of beer. Crazy day, crazy route but finally a good story to remember.
Hope you learned something from our experience and found useful things that help you make a wise decision.


GPS track for Via Ferrata Ivano Dibona
Our GPS track had some huge recording errors so we could not use it for this article. Instead we found pretty much the same route on another Wikiloc user and we embedded this one here just for you to have the correct info. As well this guy included in the recording the first cable car section which we did not calculate since it was…with the cable car.
How to get to Via Ferrata Ivano Dibona?
From Cortina D’Ampezzo drive to East on the main road (SR48) towards Passo Tre Croci. You can’t miss the two big (free of charge) parking spots next to Rio Gere Restaurant.
Where to sleep?
When we made this route we set base camp in Cortina D’Ampezzo at Camping Rocchetta. The place is one of our favorites in the Dolomites. Nice, quiet, super clean, great pitches and all the facilities you need. There’s even a small café and shop in the camping, a restaurant across the street and everything it is super cozy. The accommodation price may differ based on the period of the year – but generally you can calculate it between 30-35 eur/night for the persons, one small car and one small tent. We really love this camp site.

Good to know
- The Stunnies cable cars are not working. If you choose this route do consider the 700 m pure scree section. It’s neither easy nor pleasant.
- Maybe you should consider making the track the other way around, not as we did it. You’ll face the descent on scree which might be less exhausting.
- Bring trekking poles along, you won’t regret it.
- Rifugio Lorenzi is as well closed – bring your own lunch packed, there won’t be any restaurant / water source expecting you on the route.
- As well consider the altitude – you are making some consistent effort at 3000 m altitude and sometimes this might mess you up a bit. Every person is different, personally I am generally feeling good up until 2900 m but at around 3000 … things start to be a bit uncomfortable. Stay hydrated, acclimatization takes time and there’s no bypassing it.
- First section of the cable car that takes you to Rifugio San Forca (2235 m) costs around 16 eur/pers (2018 price).
A few words about the Smith / Fletcher Rating System
As for climbing, in Via Ferrata there are specific difficulty rating systems for the routes that you must understand in order to pick the best route for your level of experience. There isn’t an universal rating system but rather a few of them each having its own specifics.
For the Dolomites we found a guide that uses the Smith / Fletcher rating system. This is composed of two parts: one number (from 1 to 6) and one letter (from A to D). The difficulty of the route is dictated by the number in front (1 for easy – 6 for extremely difficult). The letters A to C stand for the overall alpine commitment (possibility to escape the route, how remote is it, etc.). The letter D is kind of an extra and tells you that the route includes glacier crossing (so this means you need ice crampons, ice axe and rope).
As an example: a 2B route is among the best options when you would like to start discovering the via ferrata rock-climbing. I never really heard of ferratas that start with 1 – probably too easy to even bother about them but generally the ones starting with 2 are a good place for you to get familiar. You would need a bit of mountaineering experience, for sure, but overall there are no overhanging parts, the grips are generous and the security equipment is very good.
A 4C route can be long, can require some strength, you might pass some exposed areas and little to no escape routes. Make sure you are well prepared, you understand both the risks and your experience level before you go on a route. Try to read as much info as possible about it and don’t venture on bad weather.
A few words about the equipment you need for via ferratas
No matter the difficulty (except maybe for the 1A, 1B and 1C) you’ll need a few mandatory things: helmet, climbing harness, via ferrata lanyard and gloves. This is the minimum.
What I would as well suggest is to have some rope for the difficult ones, a quickdraw or a lanyard (to anchor yourself if you’re in difficulty / need a rest), suitable shoes (good grip, durable and ankle support) and also come prepared in case bad weather surprises you (warm clothes, waterproof jacket, survival foil, first – aid kit, water, food). As well make sure to pack a head torch – some routes include tunnels so unless you work on echolocation – it’s better have a head torch with you.
There’s also things you should know about the climbing technique so make sure to learn as much as possible about it. If you’re new to this, have a look at this video, it shares great info about it.


Hope you found the information helpful and accurate, but remember, if you have any questions drop them in a comment below!
Other great adventures
-
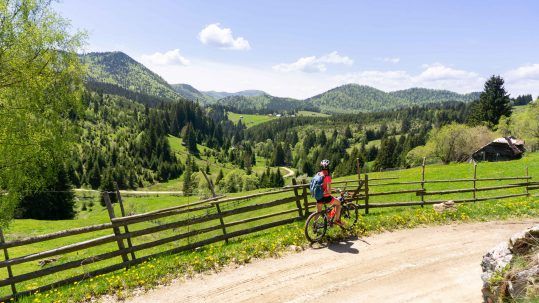
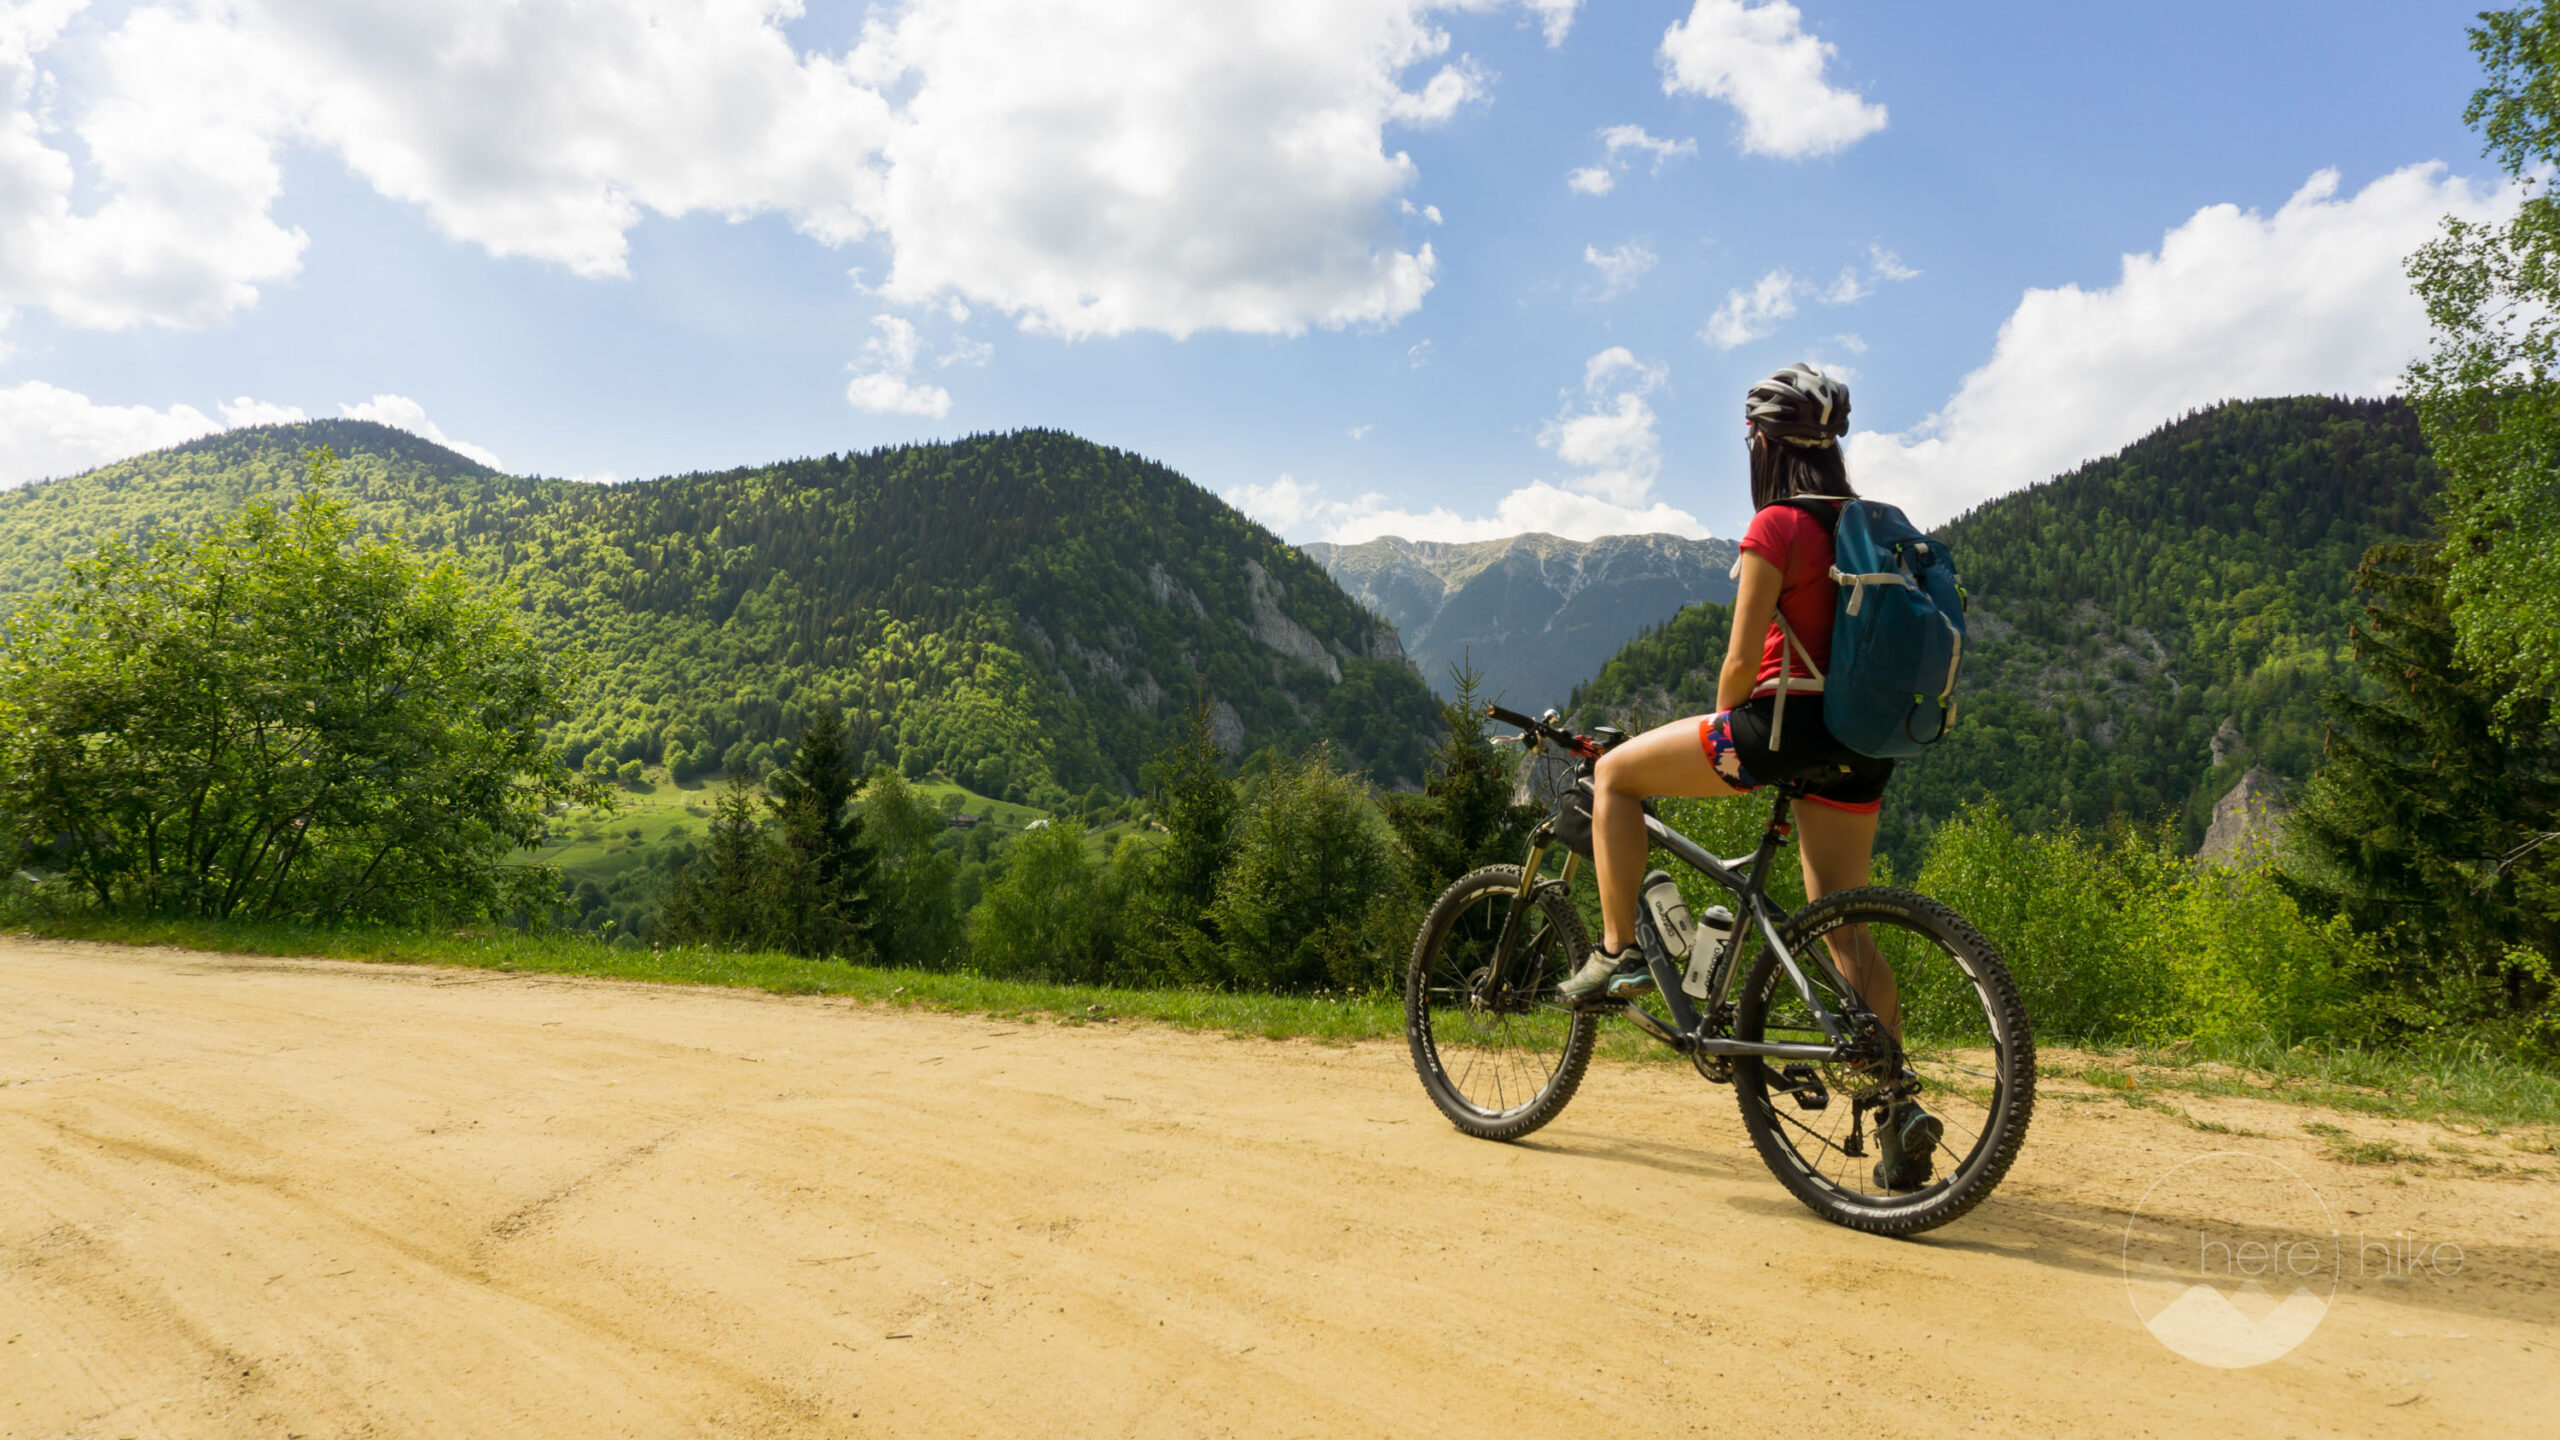
Transylvania MTB Ride: Sirnea
If you’re planning to visit Transylvania, particularly Brasov area and you’re also looking forward t...
-
Cycling around Dracula’s Castle – Piatra Craiului National Park
Dracula's Castle, an international landmark, is probably one of the most visited places in Romania ...
-
Italian Dolomites: Via Ferrata Giovanni Lipella (4C)
Via ferrata Giovanni Lipella is one of the most emblematic routes in the Dolomites. Not only are the...
Sorry, the comment form is closed at this time.