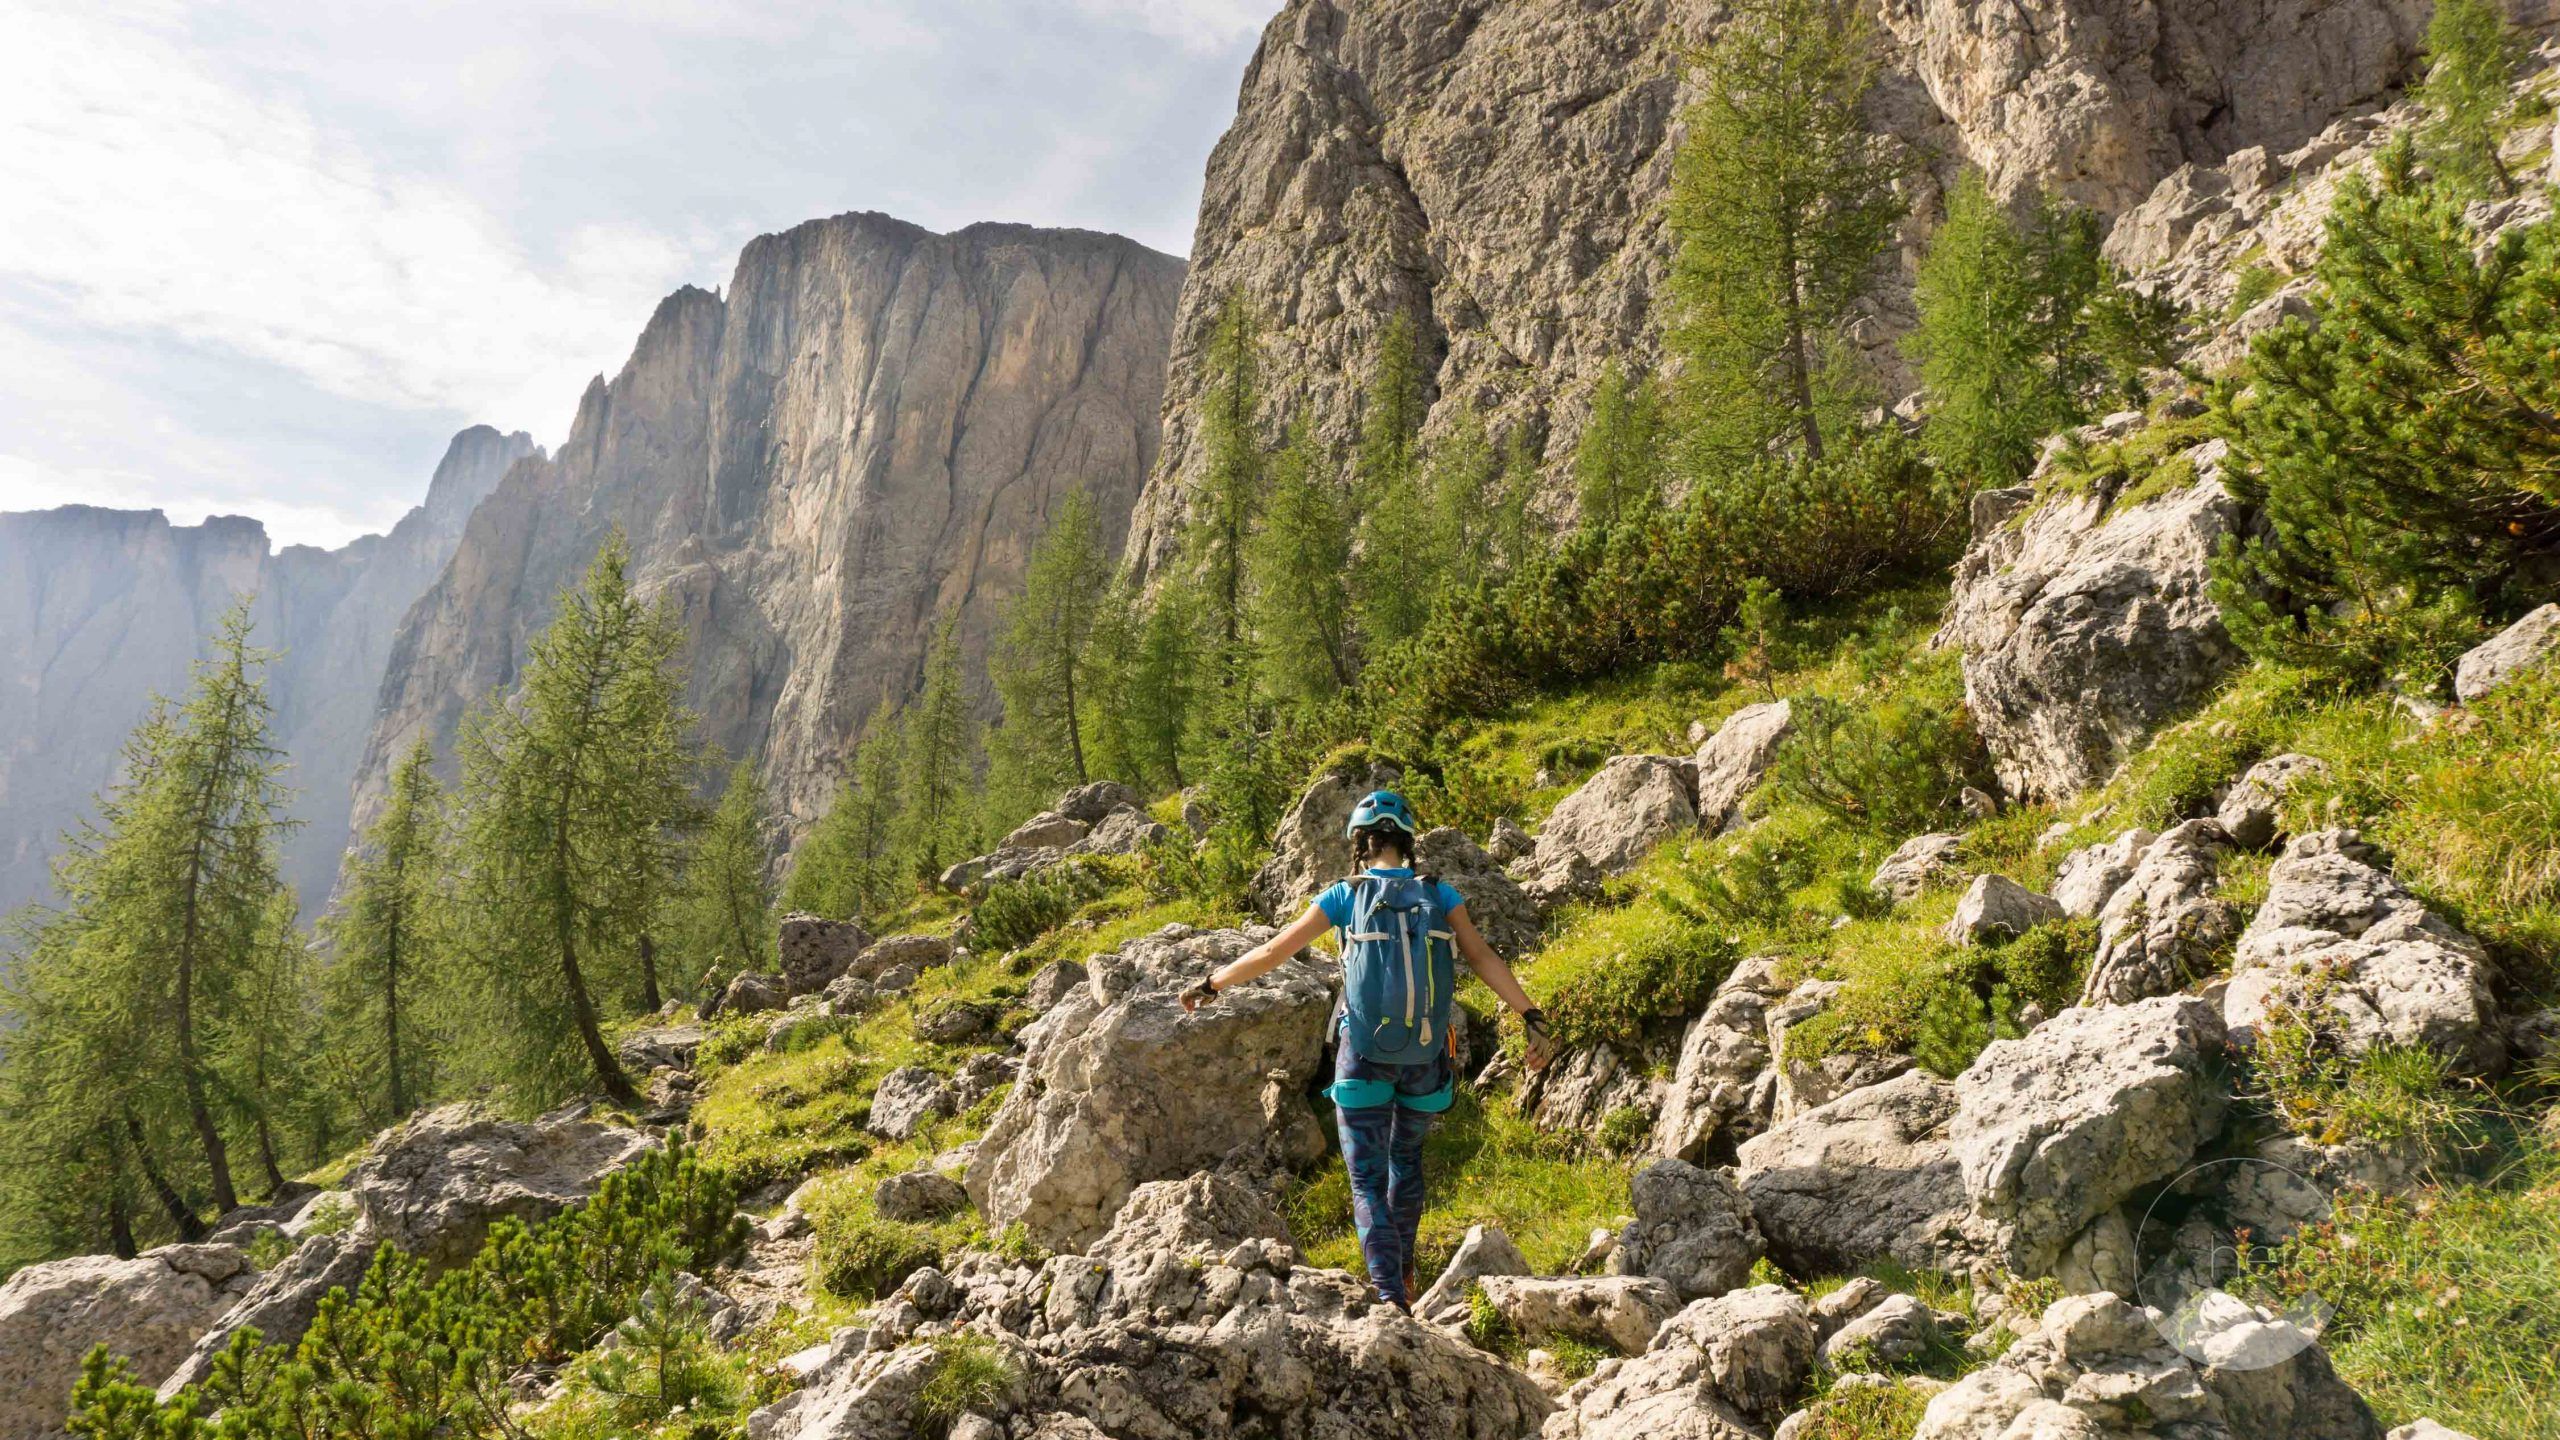
29 Apr Italian Dolomites: Via Ferrata Tridentina (3B)
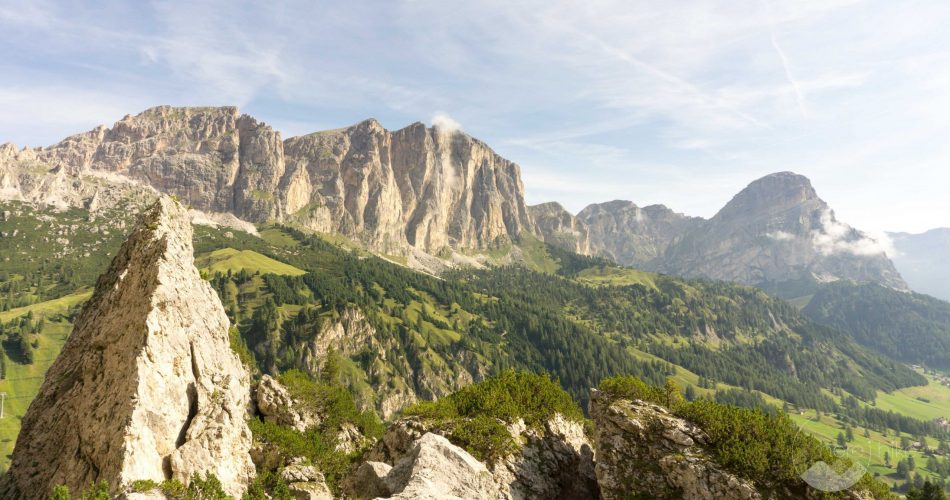
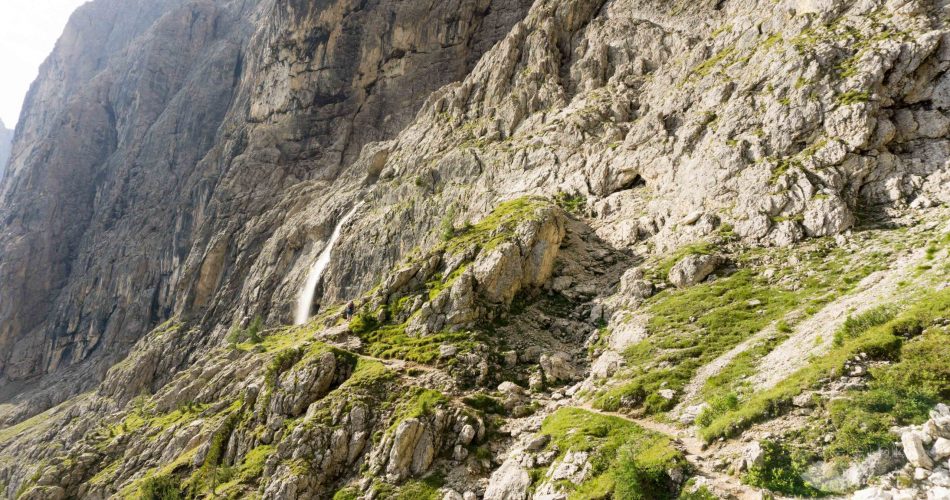
For sure there are some places in the Italian Dolomites that you simply cannot refuse to visit. The Via Ferrata Tridentina is most certainly among them and indeed it’s a delight. It’s a classic destination in this mountain range – moderately challenging, good grip on the rock and excellent views.
Distance
4.5 Km
Total Time
6 h 30 min
Active Time
5 h 00 min
Vertical Relief
+1000 / -1000 m
Min/Max Altitude
1932 – 2600 m
Ferrata Grade
Medium
Via Ferrata Tridentina
Tridentina was on our list from the first time we visited the Dolomites but back then we had less experience on ferratas and we were a bit shy to explore this one. As for difficulty, it’s a 3B level on the Smith and Fletcher rating system; this would be a medium-hard ferrata if you’re not familiar with it (check out the details below in the ‘Good To Know’ section for better understanding via ferrata).
If you lack via ferrata (or rock climbing) experience it might be advisable to start off with something lighter.
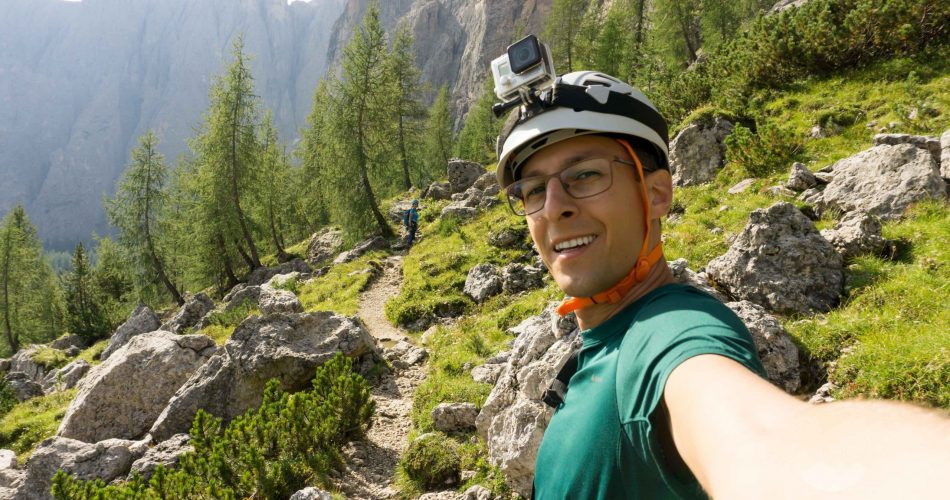
We left the camp site a bit before 8 in the morning. Including the drive and so on we started climbing around 9. At that hour the parking area was half occupied already. What’s nice about this route is that it has a nice short approach of approximately 10 minutes. I love the ferratas that don’t require hours of hiking just to get to the climbing part.
The guide estimates the ferrata takes around 3-5 hours (on the way up). As crowded as it already was we expected maybe even more. The day looked good so far but we knew that in the afternoon there are some good chances of a storm. In other words, time was a precious resource.
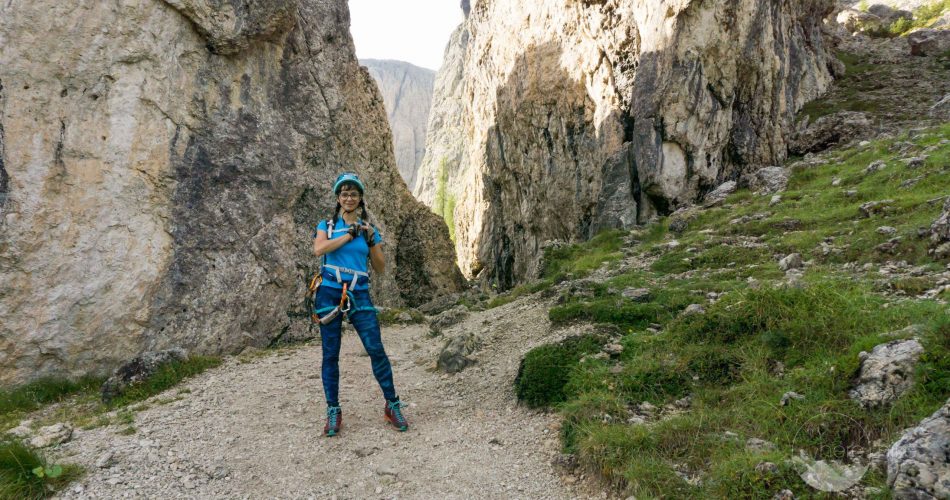
We put on the equipment and followed the fairly easy first cable section. To be honest we were a bit nervous because in 2017 when we first went on a 3B (on Etorre Bovero) we had some sections a bit…uneasy. Not to mention that Tridentina was longer than Etorre Bovero.
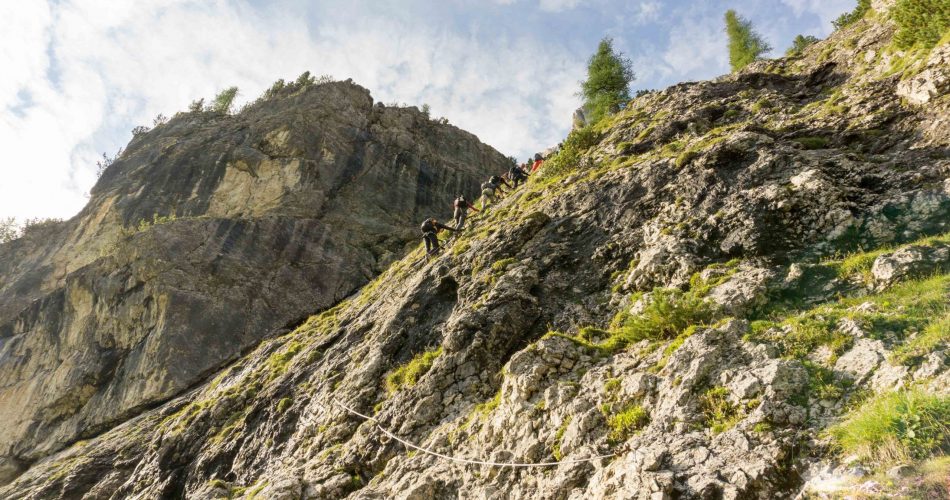
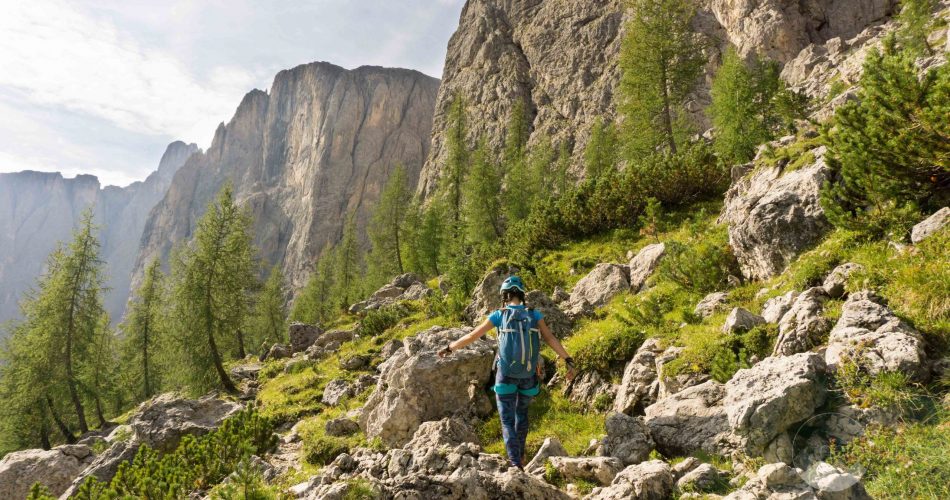
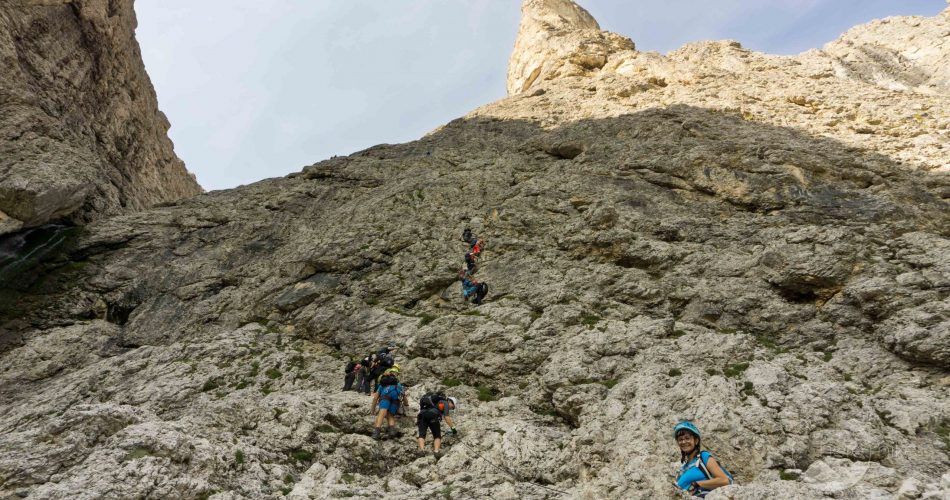
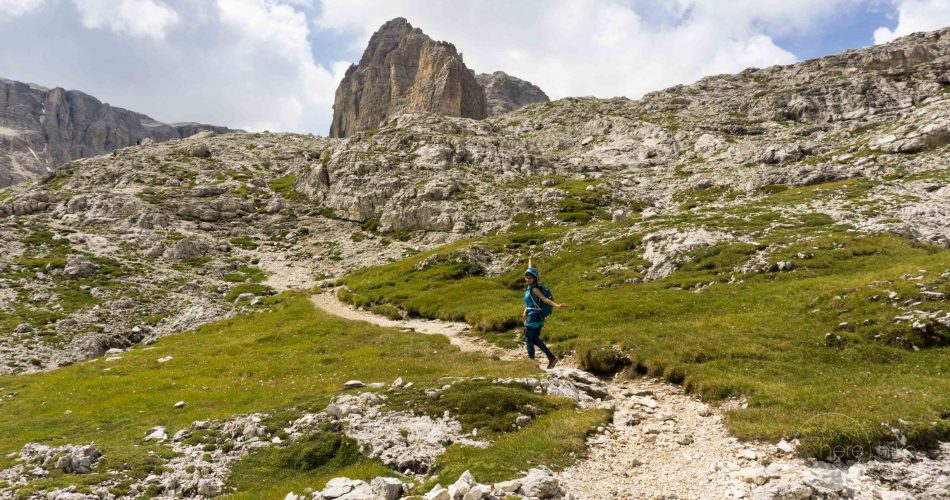
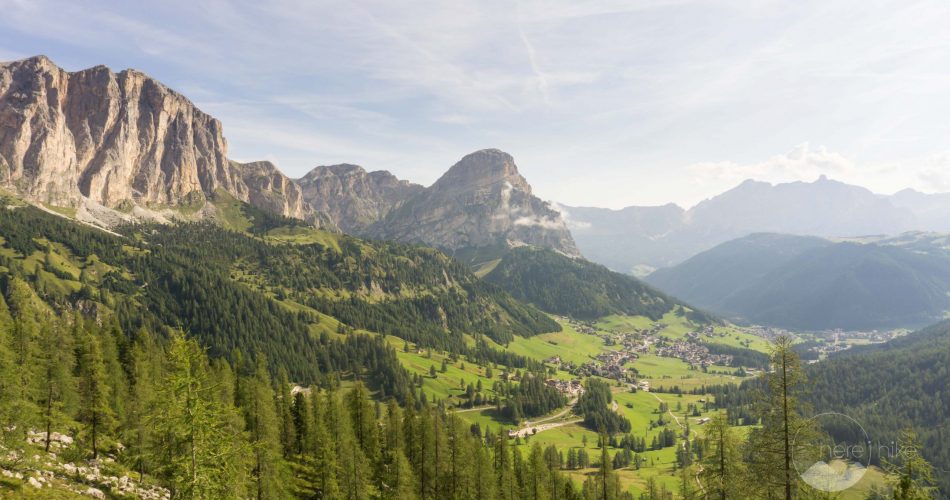
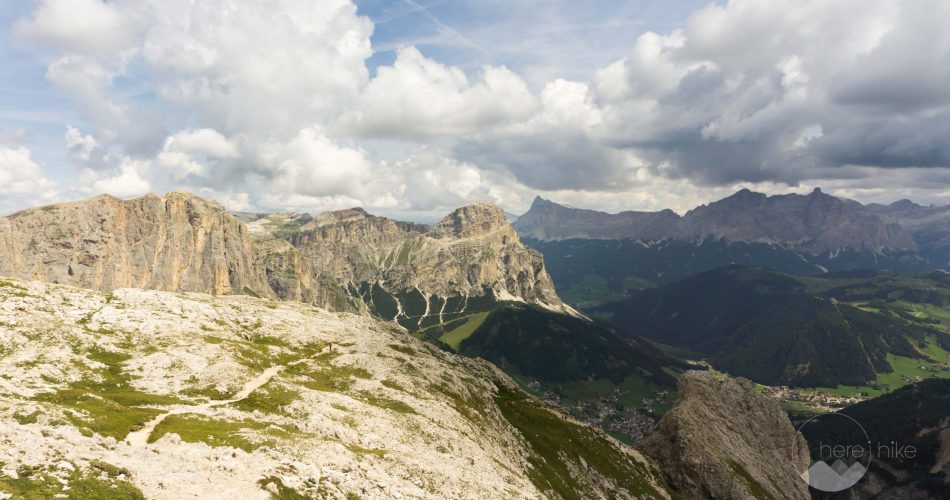
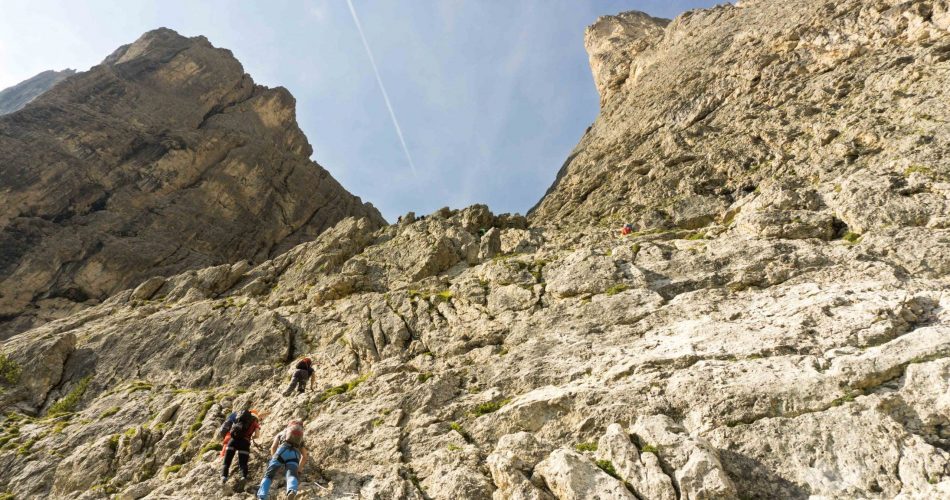
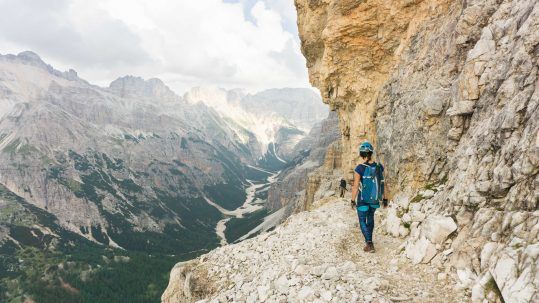
The first cable section was over, followed by an easy alpine path (without cables or any sort of securing equipment) and we entered the second ferrata section. This part is a bit more challenging also due to the wet rock. But even so, the rock has excellent grip. Not to mention that the wonderful views over the Val Gardena accompanies you along and you’re often too amazed to be scared.
The last part of the ferrata is, so to say, the most challenging one but to be honest we didn’t encounter any sections too difficult. It was a smooth traversing all the way. Nevertheless, just before entering the last section there’s an escape route, if you want to avoid this part. This alternative takes you to the chalet on a scree path. I would definitely choose climbing to scree but that’s just a personal preference.
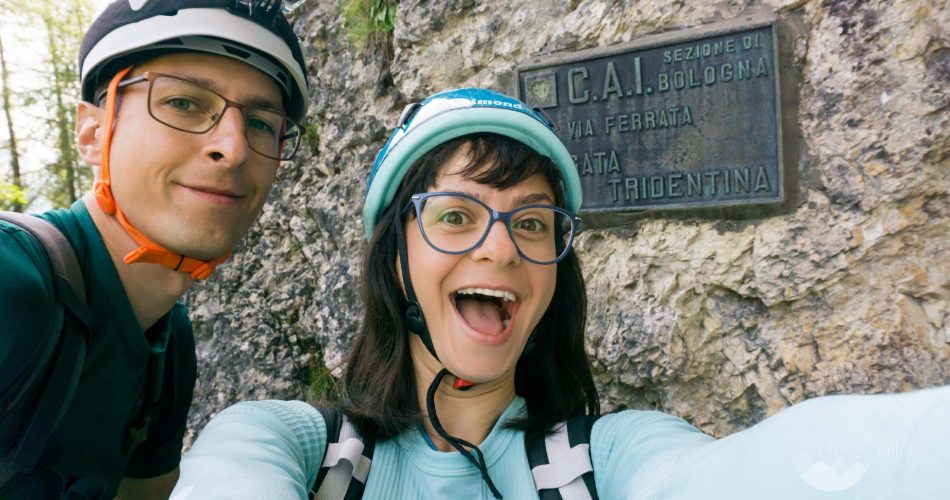
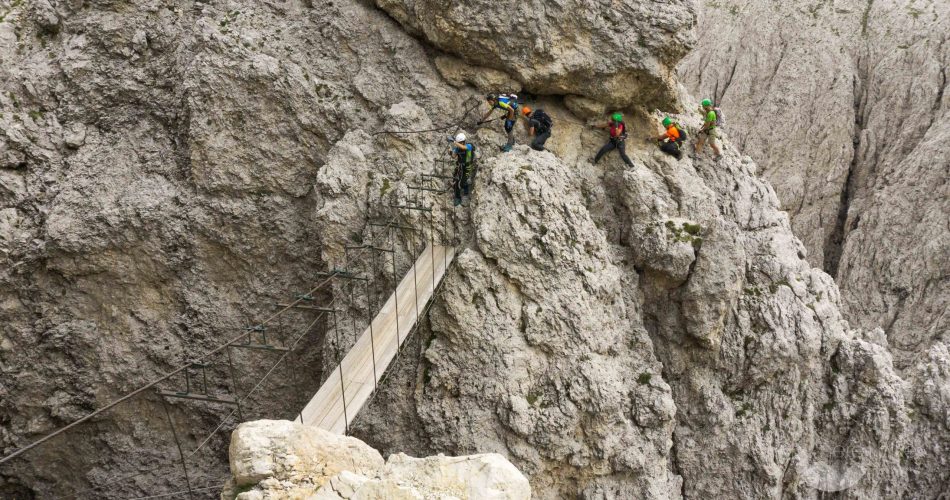
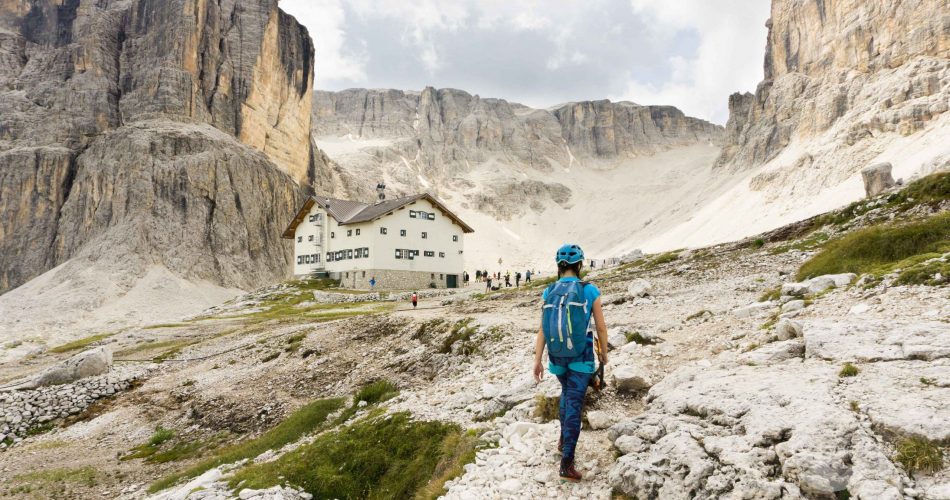
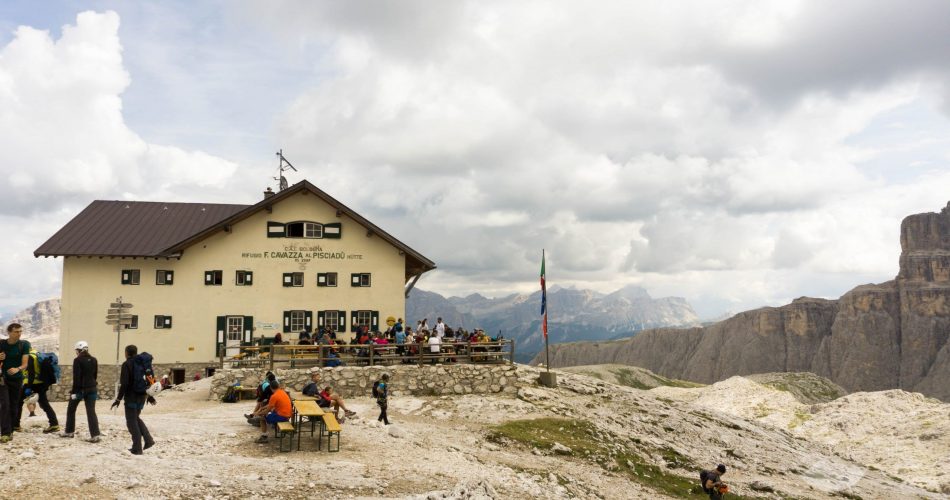
Ah, not to mention that if you avoid this last ferrata section you also miss the cherry on top: the wooden suspended bridge – mandatory for a nice selfie to share with friends. After the bridge the ferrata also ends and a short hike takes you to Refugio Al Pisciadu at 2589 m altitude.
We did exactly three hours up to the Chalet – and that’s pretty good considering the crowd.
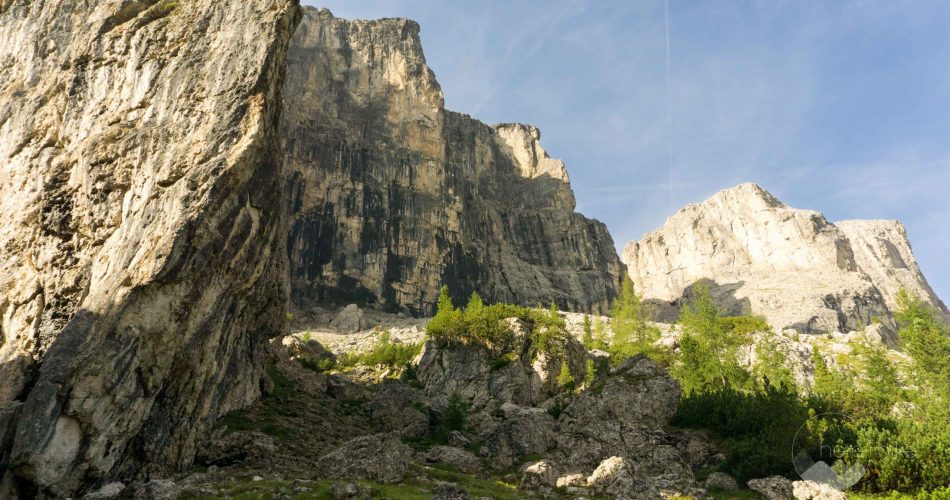
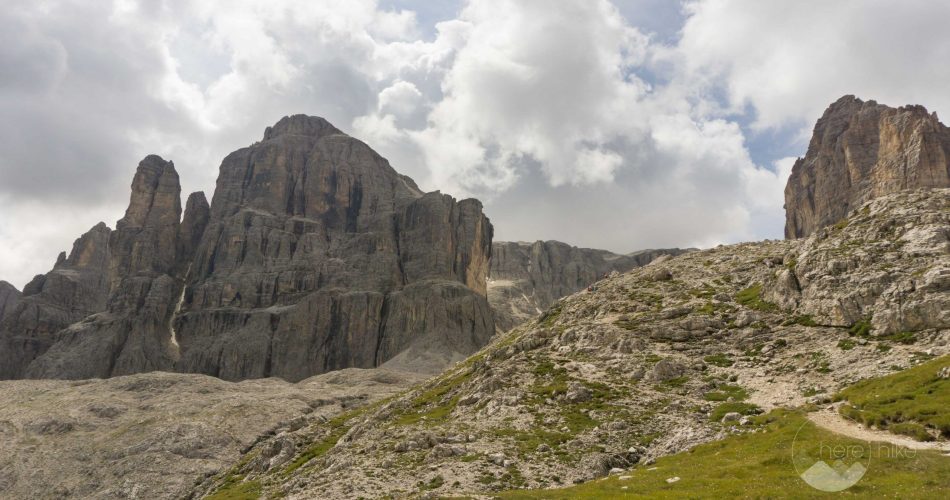
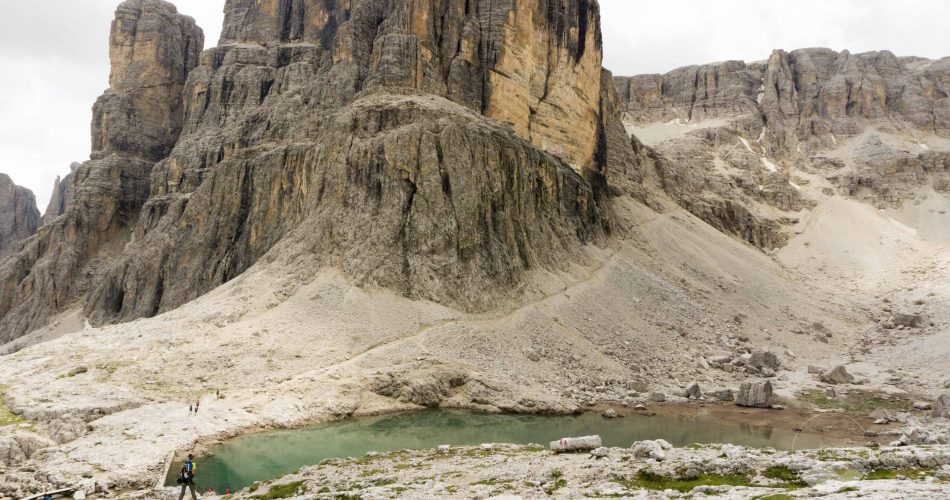
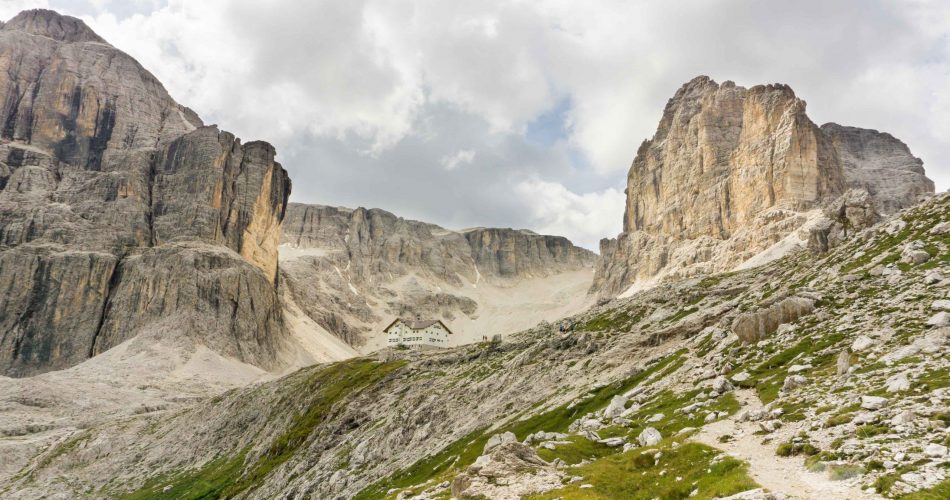
The area around the chalet it’s pretty impressive itself. Surrounded by peaks, a beautiful lake and an all you can see rocky landscape. We stopped to grab something to eat and a nice cup of coffee at Pisciadu. We arrived minutes before the storm started and managed to take cover from the hailstone storm. That, we did not expect but weather in the high mountains is pretty cranky.
After the crazy weather calmed down a bit we headed back to the parking following the descent route. A bit unexpected and unpleasant was the cable sections and scree combined with the earlier rain. Kind of slippery and dangerous. Funny enough – this route is called 666A. Not hard to understand why. It’s a one and a half hour descent. Not very pleasant but manageable.
What I can tell you for sure, is that Tridentina is a wonderful via ferrata route that must be added on any mountain lover / climbing lover’s list. We loved it, we recommend it and we certainly have had an excellent time on it.
GPS track for Via Ferrata Tridentina
How to get to Via Ferrata Tridentina?
From Canazei there’s a drive around 30-45 minutes. You start from Passo Val Gardena and there’s a big parking right there.
Where to sleep?
For this particular route we stayed in Canazei at Camping Marmolada. This is a great base – camp for a lot of routes in the area. The camping is right in the middle of the town, so shopping facilities are at walking distances. Another good thing, there is a covered place where you can eat your own food and of course all the other usual facilities that you generally find in campings. At the opposite pole, take into consideration it can be a bit noisy around and as well a bit too crowded. The accommodation price may differ based on the period of the year – but generally you can calculate it between 25-35 eur/night for the persons, one small car and one small tent. Other than that, all good.
Good to know
- It’s better to start really early for this route. It’s quite a notorious route in the area and it can get really crowded. Also this applies for the parking area.
- After finishing the ferrata you can stop for a coffee or something to eat at the Rifugio Al Pisciaidu.
- The descending can be as well crowded and it involves scree and cables. Pay attention to this to get safely back.
A few words about the Smith / Fletcher Rating System
As for climbing, in Via Ferrata there are specific difficulty rating systems for the routes that you must understand in order to pick the best route for your level of experience. There isn’t an universal rating system but rather a few of them each having its own specifics.
For the Dolomites we found a guide that uses the Smith / Fletcher rating system. This is composed of two parts: one number (from 1 to 6) and one letter (from A to D). The difficulty of the route is dictated by the number in front (1 for easy – 6 for extremely difficult). The letters A to C stand for the overall alpine commitment (possibility to escape the route, how remote is it, etc.). The letter D is kind of an extra and tells you that the route includes glacier crossing (so this means you need ice crampons, ice axe and rope).
As an example: a 2B route is among the best options when you would like to start discovering the via ferrata rock-climbing. I never really heard of ferratas that start with 1 – probably too easy to even bother about them but generally the ones starting with 2 are a good place for you to get familiar. You would need a bit of mountaineering experience, for sure, but overall there are no overhanging parts, the grips are generous and the security equipment is very good.
A 4C route can be long, can require some strength, you might pass some exposed areas and little to no escape routes. Make sure you are well prepared, you understand both the risks and your experience level before you go on a route. Try to read as much info as possible about it and don’t venture on bad weather.
A few words about the equipment you need for via ferratas
No matter the difficulty (except maybe for the 1A, 1B and 1C) you’ll need a few mandatory things: helmet, climbing harness, via ferrata lanyard and gloves. This is the minimum.
What I would as well suggest is to have some rope for the difficult ones, a quickdraw or a lanyard (to anchor yourself if you’re in difficulty / need a rest), suitable shoes (good grip, durable and ankle support) and also come prepared in case bad weather surprises you (warm clothes, waterproof jacket, survival foil, first – aid kit, water, food). As well make sure to pack a head torch – some routes include tunnels so unless you work on echolocation – it’s better have a head torch with you.
There’s also things you should know about the climbing technique so make sure to learn as much as possible about it. If you’re new to this, have a look at this video, it shares great info about it.
Hope you found the information helpful and accurate, but remember, if you have any questions drop them in a comment below!
Other great adventures
-
Transylvania MTB Ride: Sirnea
If you’re planning to visit Transylvania, particularly Brasov area and you’re also looking forward t...
-
Cycling around Dracula’s Castle – Piatra Craiului National Park
Dracula's Castle, an international landmark, is probably one of the most visited places in Romania ...
-
Italian Dolomites: Via Ferrata Giovanni Lipella (4C)
Via ferrata Giovanni Lipella is one of the most emblematic routes in the Dolomites. Not only are the...



No Comments